MapKit (30)
iOS 15 Update
iOS 15의 마지막글
Pull to Refresh
현재 이 앱의 단점은 refresh를 하려면 다시 해당 view로 들어가야한다.
1
2
3
4
// ListView
.refreshable {
    viewModel.getCheckedInProfilesDictionary()
}
refreshable Modifer를 추가해주었다.
그리고
1
2
3
4
5
6
7
8
9
10
11
12
13
14
15
16
17
18
19
20
// LocationListViewModel
// before
func getCheckedInProfilesDictionary() {
    Task {
        do {
            checkedInProfiles = try await CloudKitManager.shared.getCheckedInProfilesDictionary()
        } catch {
            alertItem = AlertContext.unableToGetAllCheckedInProfiles
        }
    }
}
// after
func getCheckedInProfilesDictionary() async {
    do {
        checkedInProfiles = try await CloudKitManager.shared.getCheckedInProfilesDictionary()
        print("Called")
    } catch {
        alertItem = AlertContext.unableToGetAllCheckedInProfiles
    }
}
이렇게 최근에 수정했던 함수를 다시 수정해주는데 async를 사용해서 비동기 함수로 바꿔버렸다.
그리고 refresh를 확인하기 위해 print("Called")를 넣어주었다.
1
2
3
4
5
6
.task {
    await viewModel.getCheckedInProfilesDictionary()
}
.refreshable {
    await viewModel.getCheckedInProfilesDictionary()
}
getCheckedInProfilesDictionary가 비동기 함수가 되었으므로 await를 추가해주었다.

잘되는걸 알 수 있다.
참고로 refreshable 또한 비동기 함수이므로 Task가 필요없다.
1
2
nonisolated
func refreshable(action: @escaping @Sendable () async -> Void) -> some View
사실 이전에 getCheckedInProfilesDictionary를 리팩토링할 때, “CloudKitManager 호출부가 이미 async인데 왜 ViewModel의 함수 자체를 async로 만들지 않고 내부에 Task를 썼을까?” 하는 궁금증이 있었다.
이제 와서 구조를 바꿔보니 그 이유가 명확해졌다. 기존에 쓰던 .onAppear는 비동기 클로저를 지원하지 않기 때문에 ViewModel 내부에서 Task로 감싸서 동기 함수처럼 보이게 포장해야 했다.
하지만 새롭게 도입한 .task나 .refreshable은 태생부터 async를 지원한다. 즉, 뷰(View) 자체가 비동기를 처리할 환경이 마련되었기 때문에, 굳이 ViewModel에서 Task를 열 필요 없이 함수 자체를 async로 선언하고 뷰에서 await로 호출하도록 구조를 한 단계 더 깔끔하게 리팩토링한 것이다.
ProfileView
Focused Keyboard
UX를 개선한다.
이렇게 하나하나 입력하고 키보드를 다시 보여지게 해야하는 번거로움이 있는데 FocusState를 사용하여 UX를 개선한다.
@FocusState는 단순히 현재 커서가 어디 있는지 상태를 추적하는 것을 넘어, 우리가 특정 값으로 상태를 변경하면 커서를 그곳으로 ‘이동’시켜주는 역할도 한다. 덕분에 .onSubmit을 통해 키보드의 next를 누를 때마다 focusedTextField의 값을 다음 케이스로 변경해 주면, 자연스럽게 다음 텍스트 필드로 포커스가 넘어가게 된다
1
2
3
4
5
6
7
8
9
10
11
12
13
14
15
16
17
18
19
20
21
22
23
24
25
26
// ProfileView
@FocusState private var focusedTextField: ProfileTextField?

enum ProfileTextField {
    case firstName, lastNAme, companyName, bio
}

TextField("First Name", text: $viewModel.firstName)
    .profileNameStyle()
    .focused($focusedTextField, equals: .firstName)
    .onSubmit { focusedTextField = .lastName }
    .submitLabel(.next)

TextField("Last Name", text: $viewModel.lastName)
    .profileNameStyle()
    .focused($focusedTextField, equals: .lastName)
    .onSubmit { focusedTextField = .companyName }
    .submitLabel(.next)

TextField("Company Name", text: $viewModel.companyName)
    .focused($focusedTextField, equals: .companyName)
    .onSubmit { focusedTextField = .bio }
    .submitLabel(.next)

BioTextEditor(text: $viewModel.bio)
    .focused($focusedTextField, equals: .bio)
이렇게 코드를 추가 & 수정을 해준다. (여긴 before 생략)
실행하면
이렇게 포커스가 옮겨지는걸 알 수 있다.
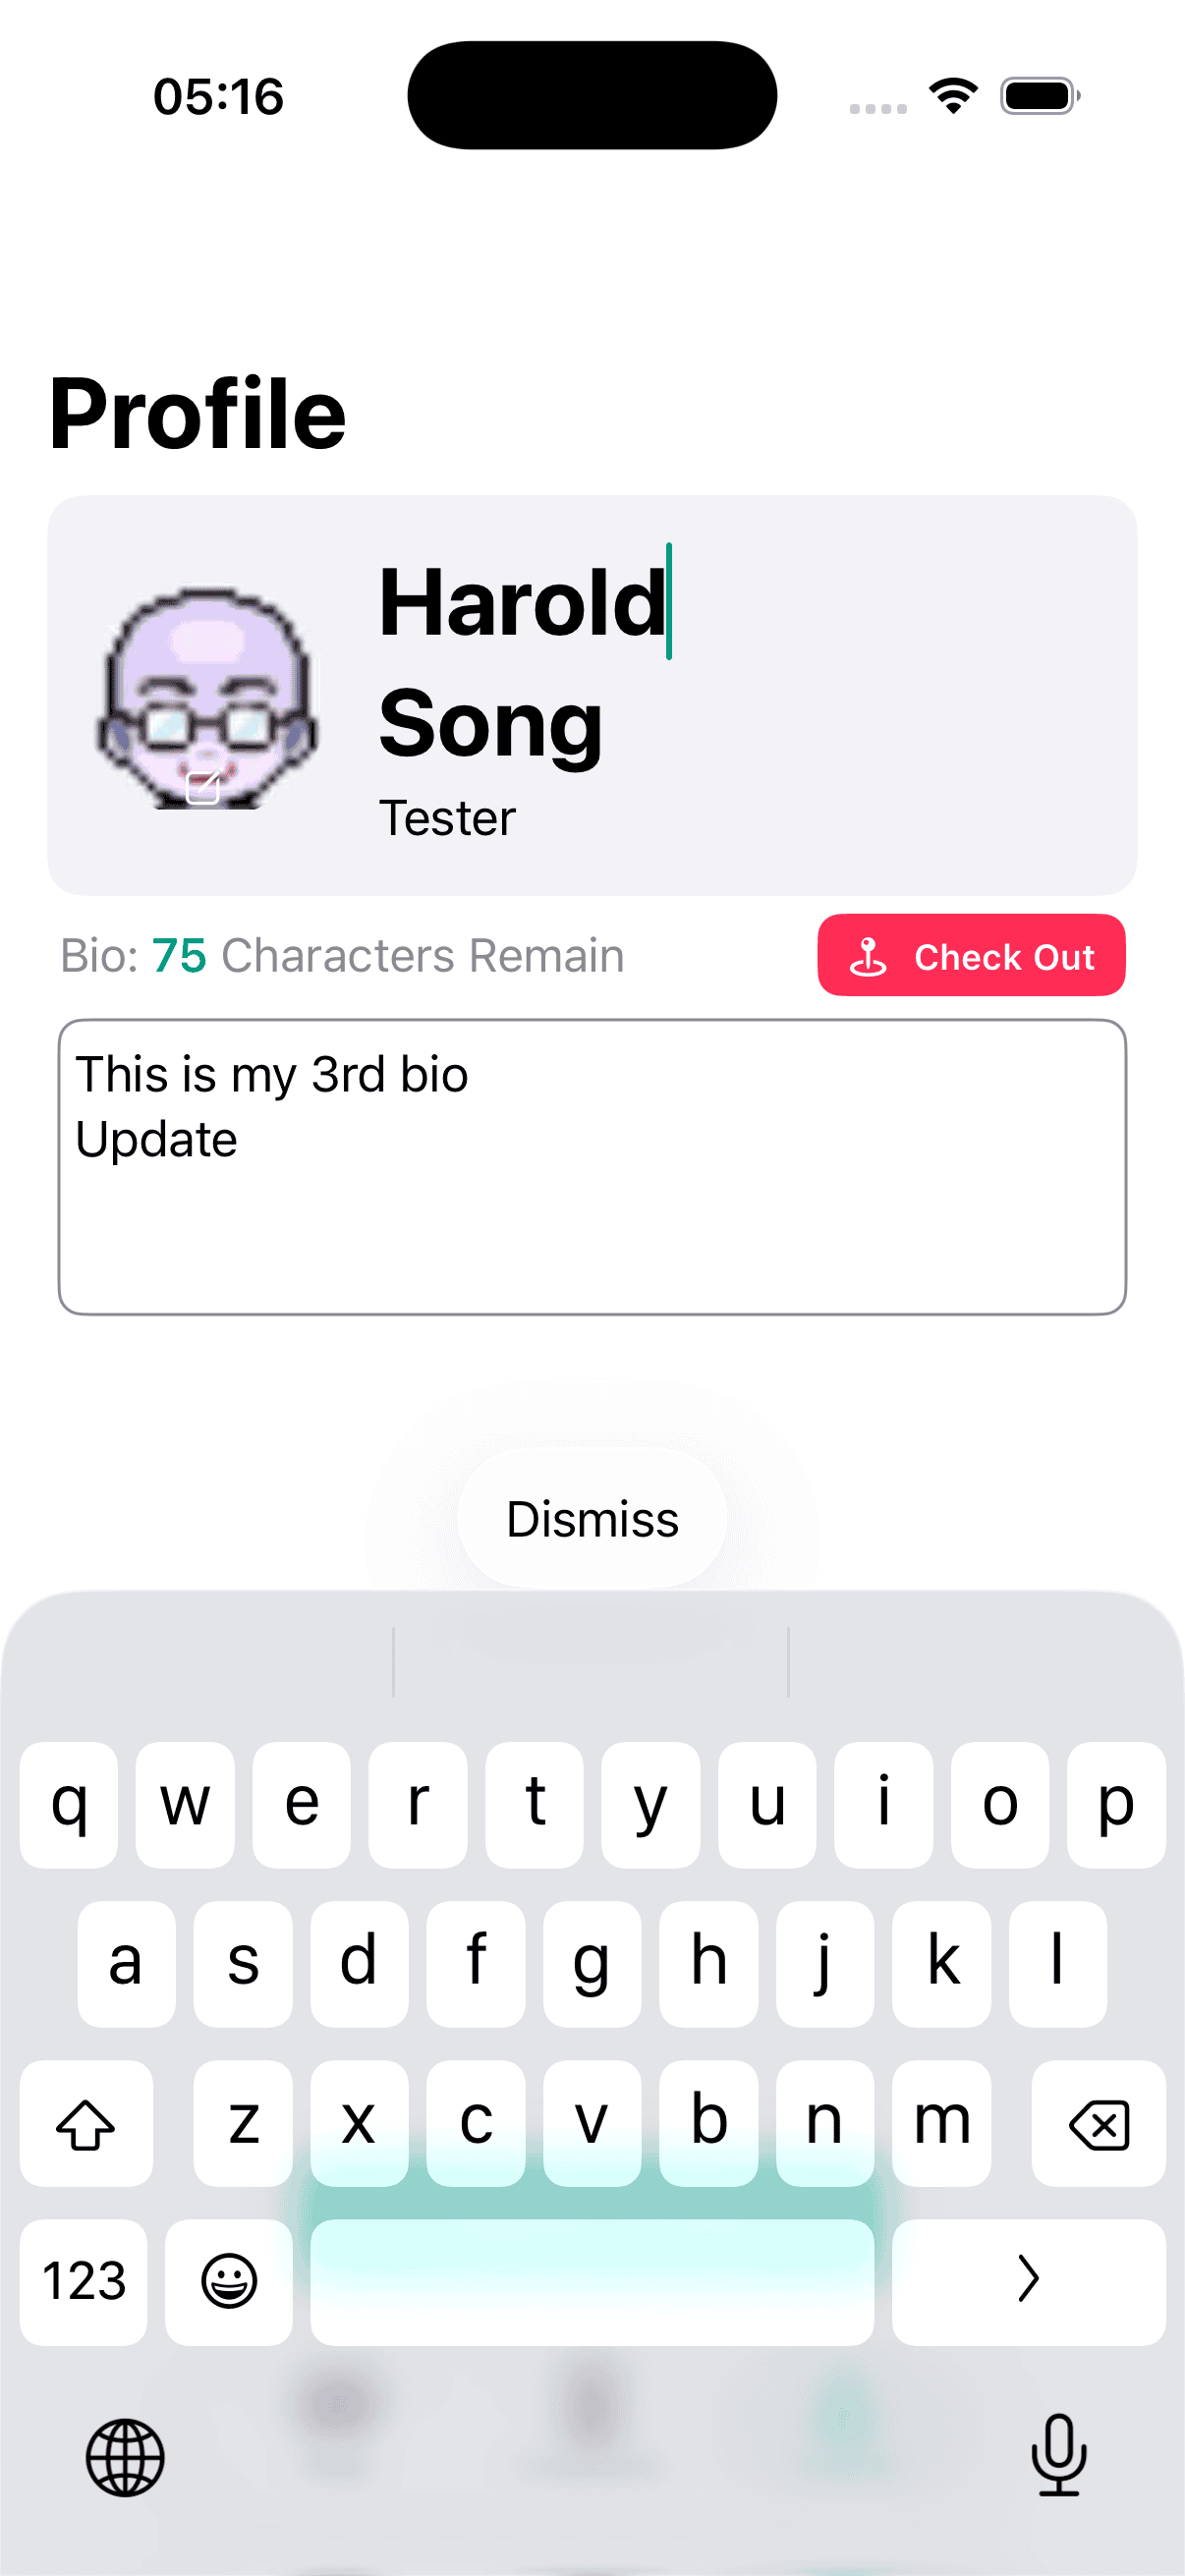
Dismiss Button
1
2
3
4
5
6
7
8
9
10
VStack{
    //생략
}
.toolbar {
    ToolbarItemGroup(placement: .keyboard) {
        Button("Dismiss") {
            focusedTextField = nil
        }
    }
}

실행하면 이렇게 된다.
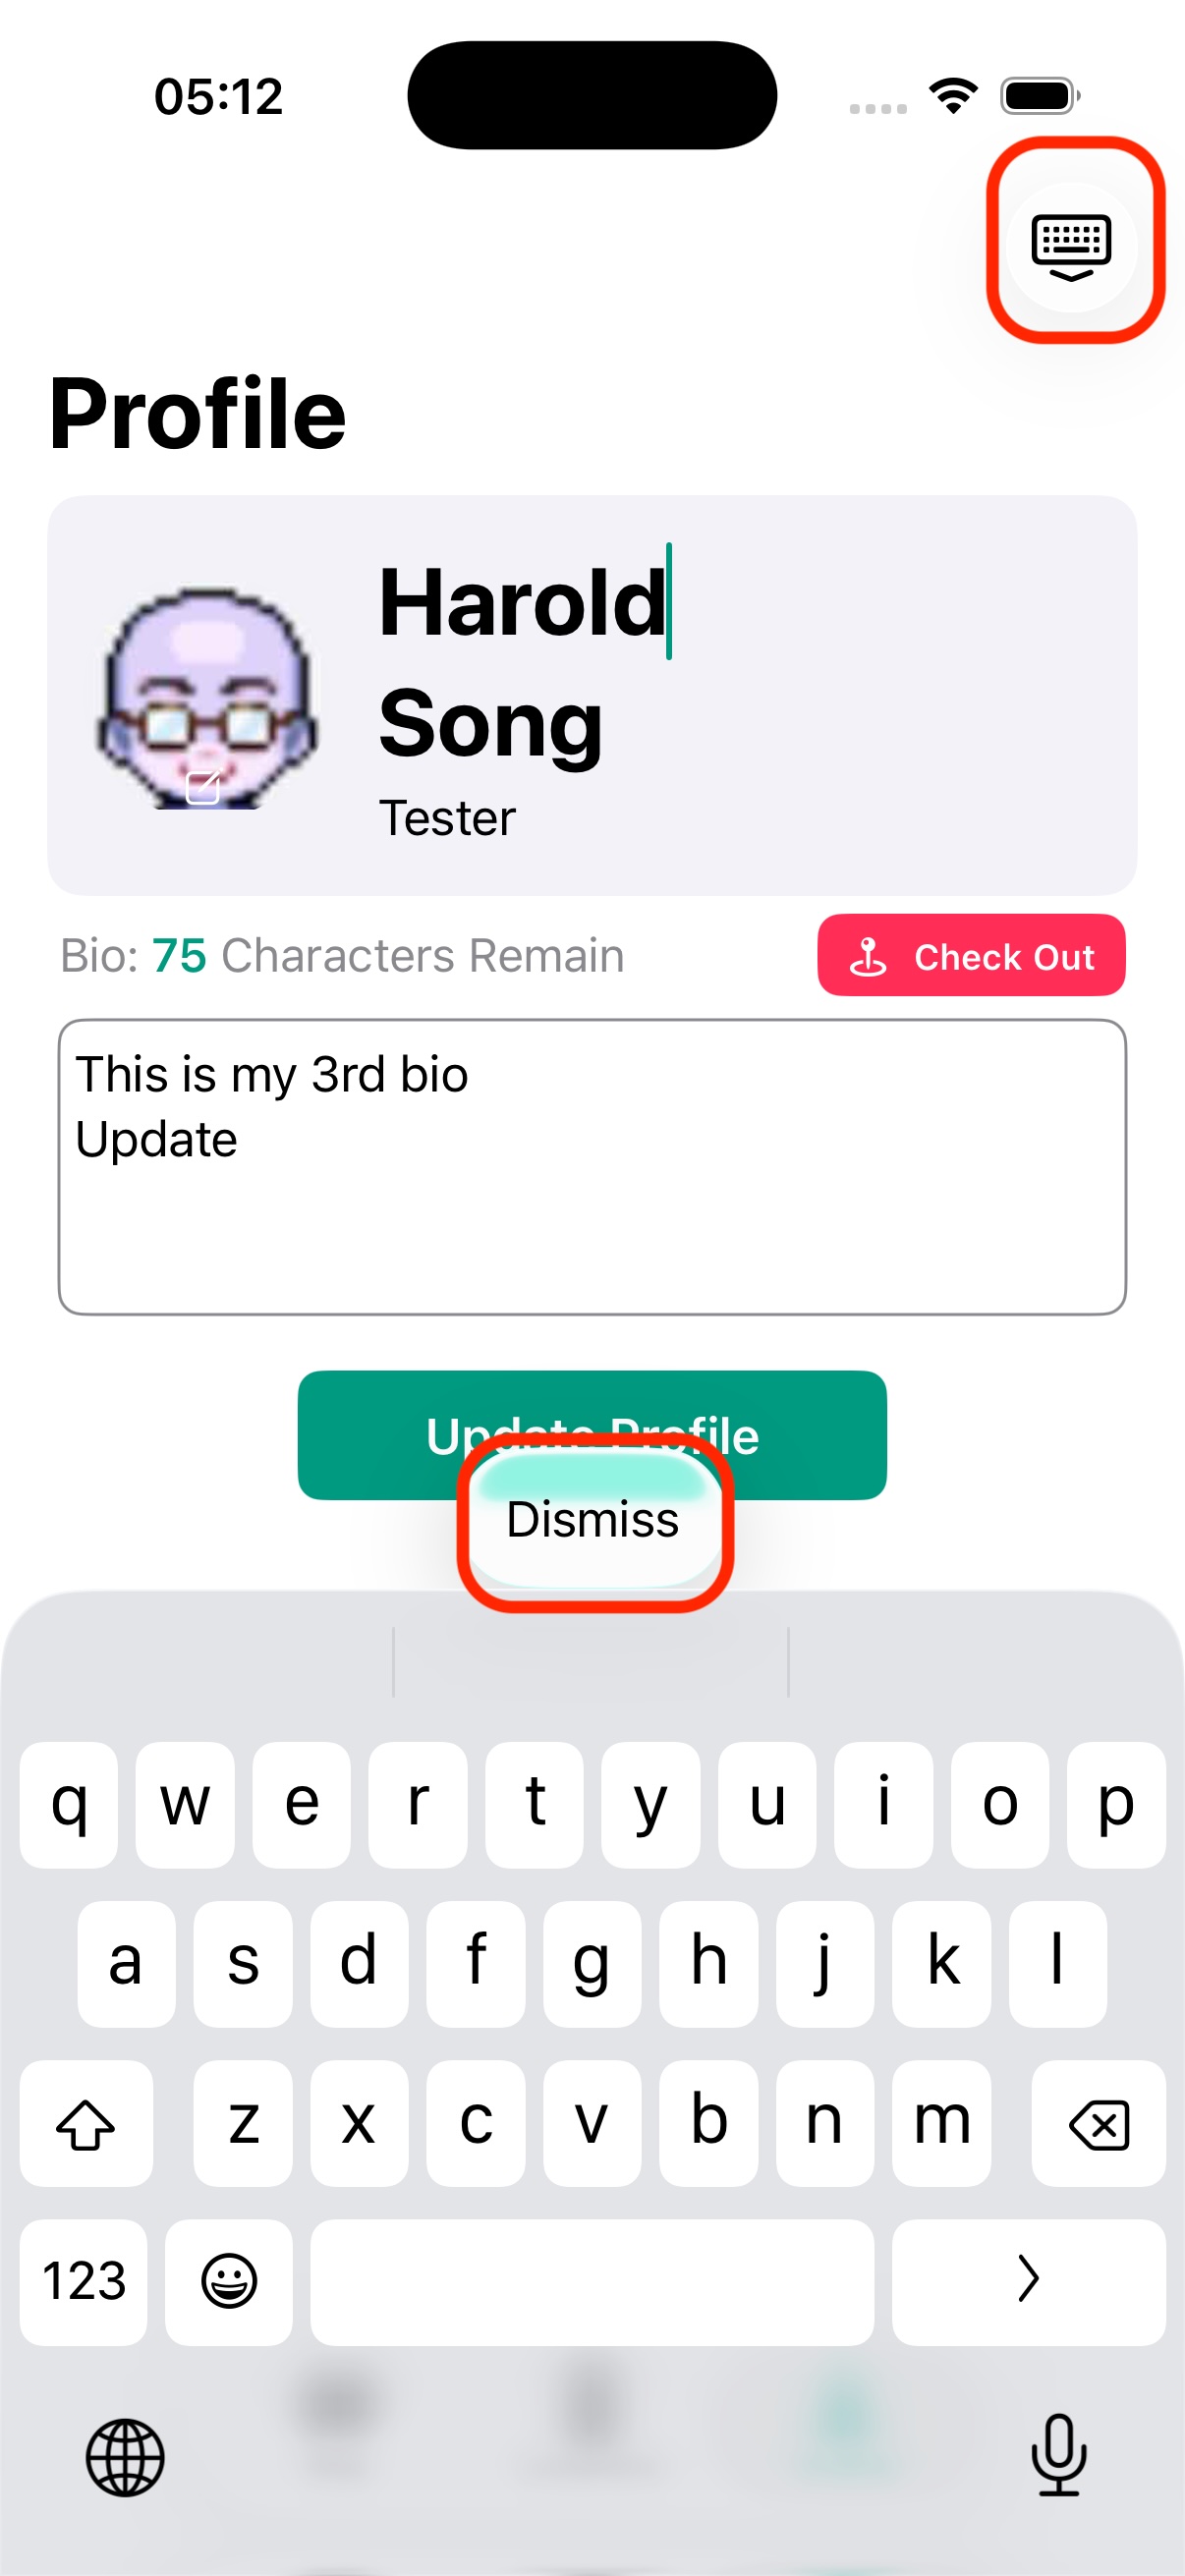
하지만 우상단에 toolbar로 했던거랑 중복이므로 지워준다.
1
2
3
4
5
6
7
8
9
10
// before
.toolbar {
    Button {
        dismissKeyboard()
    } label: {
        Image(systemName: "keyboard.chevron.compact.down")
    }
}
// after
.ignoresSafeArea(.keyboard)
.ignoresSafeArea(.keyboard)를 하지않으면 위와 같이 버튼이 겹칠수 있다.
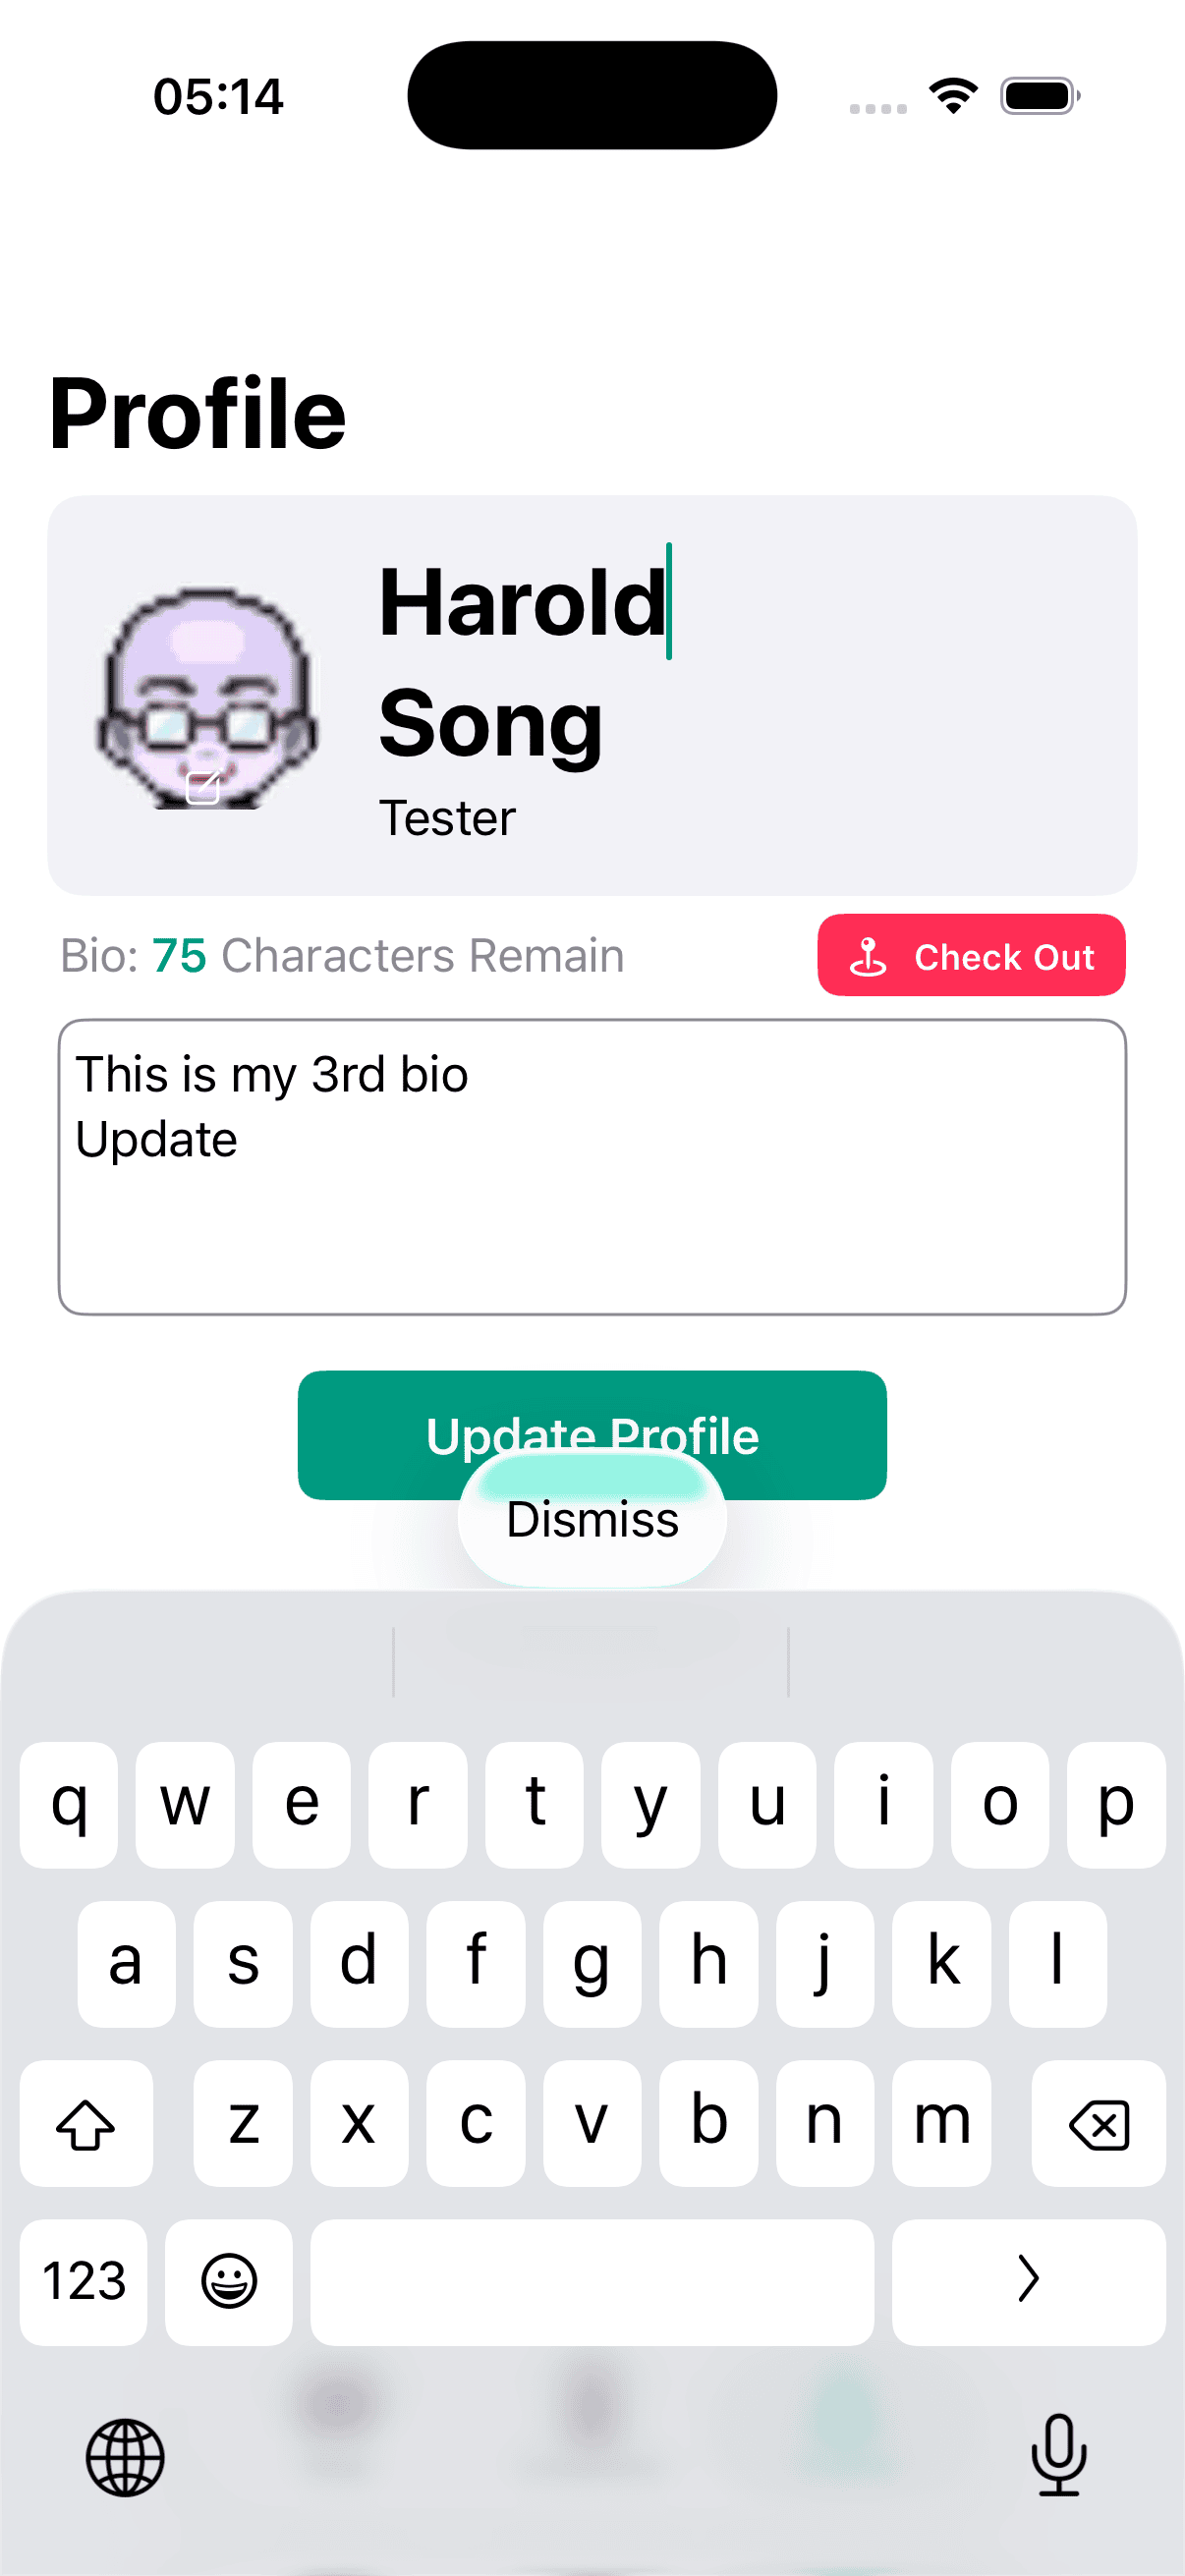
이건 해당 Modifier를 적용한 상태, 이젠 update 버튼이 키보드와 같이 올라오지 않아서 dismiss누르다가 update를 누를 걱정이 없다.
근데 개인적으로는 기존 방식이 더 이쁘긴 했다.
Github: Dub-Dub-Grub Repository