챌린지반 과제 (2)
Repository 내용 TableView에 업로드하기
1
2
3
4
5
6
7
8
9
10
11
12
13
14
15
16
func fetchRequestRepo () {
        AF.request(url+"/repos", method: .get, parameters: repoParameter).responseDecodable(of: GitRepoModel.self
        ) { response in
            switch response.result {
            case .success(let data) :
                do {
                    self.delegate?.sendRepo(data: [data])
                    print(data)
                } catch {
                    print(error.localizedDescription)
                }
            case .failure(let error) :
                print(error.localizedDescription)
            }
        }
    }
처음에는 이전에 했던 방식 그대로 해보았다.
하지만 에러가 발생했고 주석으로 바꾸고 response가 제대로 출력이 되나 찍어보니 거기서부터 문제였다.
에러는 다음과 같다
1
failure(Alamofire.AFError.responseSerializationFailed(reason: Alamofire.AFError.ResponseSerializationFailureReason.decodingFailed(error: Swift.DecodingError.typeMismatch(Swift.Dictionary<Swift.String, Any>, Swift.DecodingError.Context(codingPath: [], debugDescription: "Expected to decode Dictionary<String, Any> but found an array instead.", underlyingError: nil)))))
딕셔너리로 담아야할걸 배열에 담아서 생긴 문제로 보인다.
참고자료에 나와 같은 증상의 질문이 있었고 바로 어디가 잘못된지 알았다.
1
2
3
4
5
6
7
8
9
10
11
12
13
14
15
16
func fetchRequestRepo () {
        AF.request(url+"/repos", method: .get, parameters: repoParameter).responseDecodable(of: [GitRepoModel].self
        ) { response in

            switch response.result {
            case .success(let data) :
                do {
                    self.delegate?.sendRepo(data: data)
                } catch {
                    print(error.localizedDescription)
                }
            case .failure(let error) :
                print(error.localizedDescription)
            }
        }
    }
error와 data를 나눠 주고, 전달을 해보았다.
잘된다.
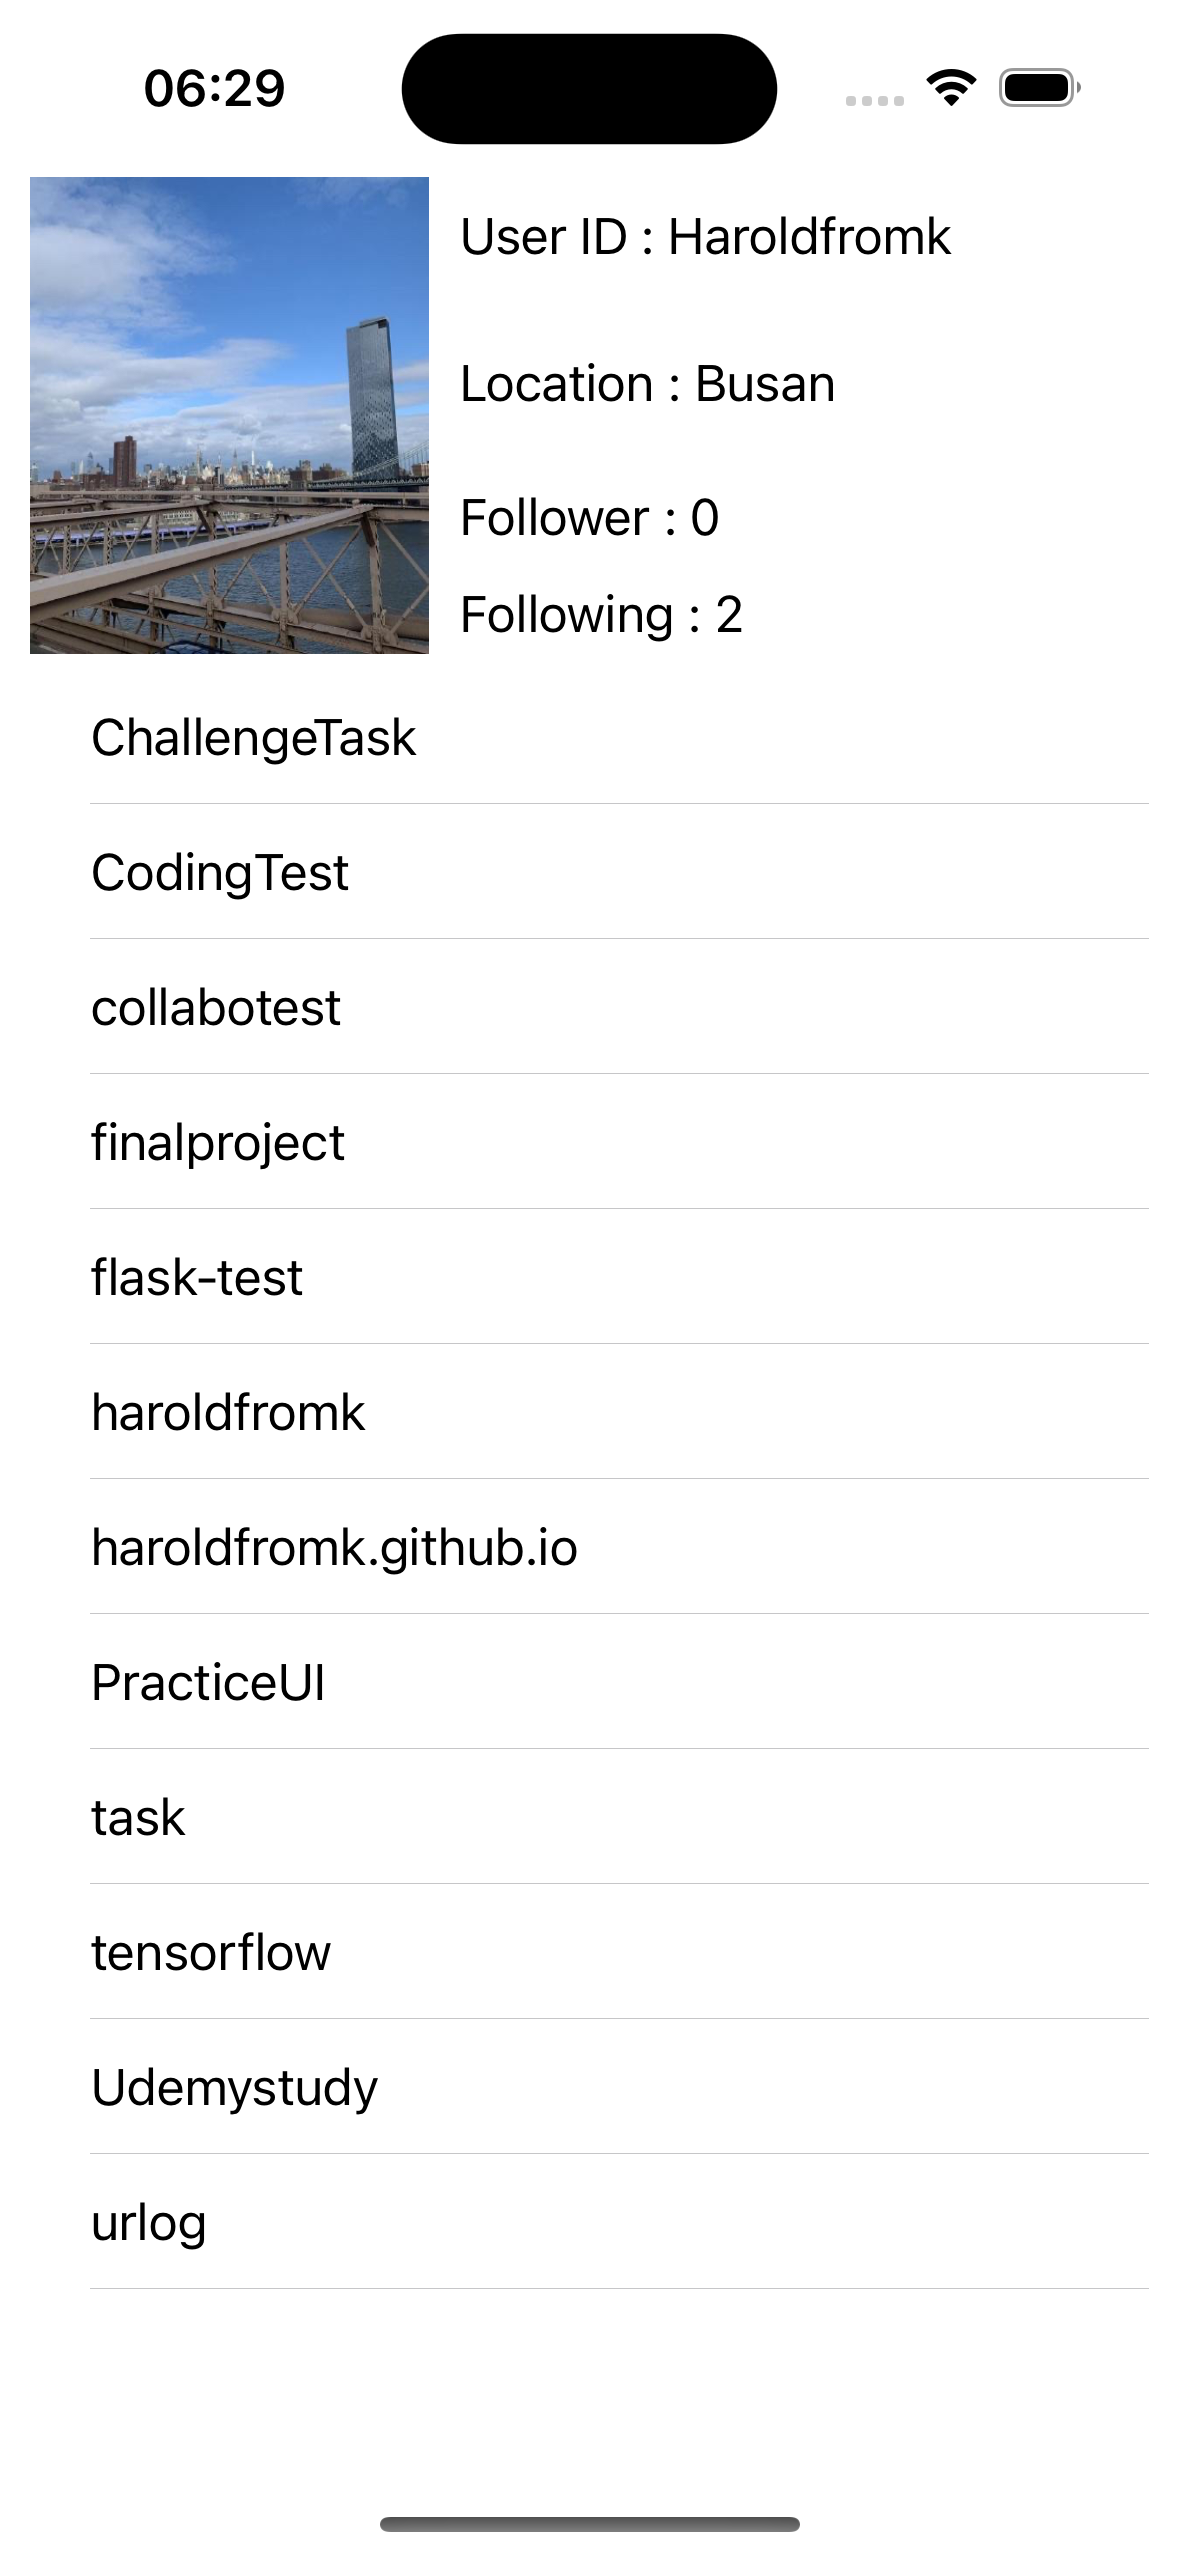
Cell 터치했을때 관련 Repository로 이동하기
사이트를 참고했다.
구현하는것은 크게 어렵지 않았다.
1
2
3
4
5
func tableView(_ tableView: UITableView, didSelectRowAt indexPath: IndexPath) {
        if let url = URL(string: repoList[indexPath.row].html_url) {
            UIApplication.shared.open(url)
        }
    }
실행화면
pull to Refresh 구현하기
1
2
3
4
5
6
7
8
9
10
11
12
13
14
15
16
17
18
19
20
21
22
override func viewDidLoad() {
        super.viewDidLoad()
        // Do any additional setup after loading the view.
        tableView.delegate = self
        tableView.dataSource = self
        gitManager.delegate = self

        activateConstraints()
        gitManager.fetchRequest()
        gitManager.fetchRequestRepo()
        tableView.refreshControl = UIRefreshControl() //new
        tableView.refreshControl?.addTarget(self, action: #selector(didPullToRefresh), for: .valueChanged) //new

    }

@objc func didPullToRefresh() {
        gitManager.fetchRequestRepo()
        DispatchQueue.main.asyncAfter(deadline: .now()+1) {
            self.tableView.refreshControl?.endRefreshing()
            self.tableView.reloadData()
        }
    }
리프레시 할때 함수를 다시 호출하게 하였다.
레포지토리를 만들고 테스트를 했는데, 등록하고 바로 되는게 아니라 조금 시간이 지나고 가져오는걸 확인했다.
이 기사는 저작권자의 CC BY 4.0 라이센스를 따릅니다.