(Deep Dive) ImagePicker
이미지 업로드할때, 꼭 필요한 기능이라 정리 할겸 적어보기로 한다.
UIImagePickerControllerDelegate는 단독으로 쓰이지 않는다. UINavigationControllerDelegate와 같이 쓰이게 된다.
UIImagePickerController라고 하면
우리가 배달어플을 사용하고 리뷰를 할때 사진을 고를때 보이는 그 화면이다.

이렇게 새로운 NavigationView같은 창이 하나 더 올라오면서 보여주기에 UINavigationControllerDelegate이 더 필요할 수 밖에 없다고 생각한다.
UIImagePickerController를 사용하면 곧 기능이 사라질거라 PHPicker를 사용하라고 뜨는데 그걸 사용해보도록 하겠다.
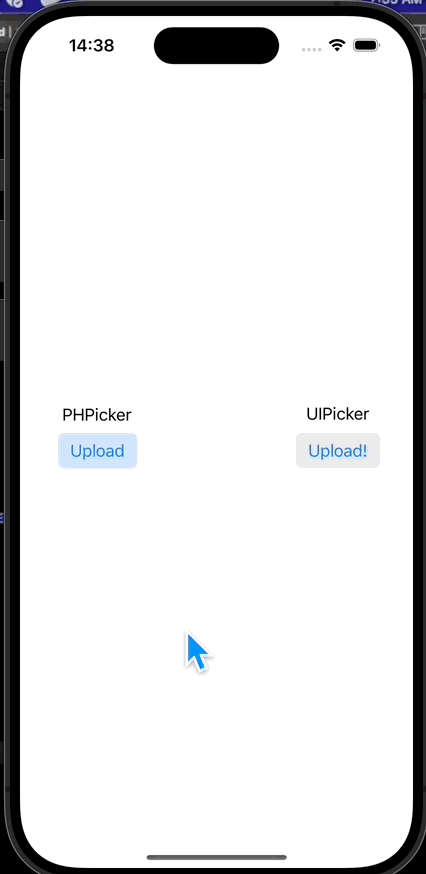
1. 화면구성
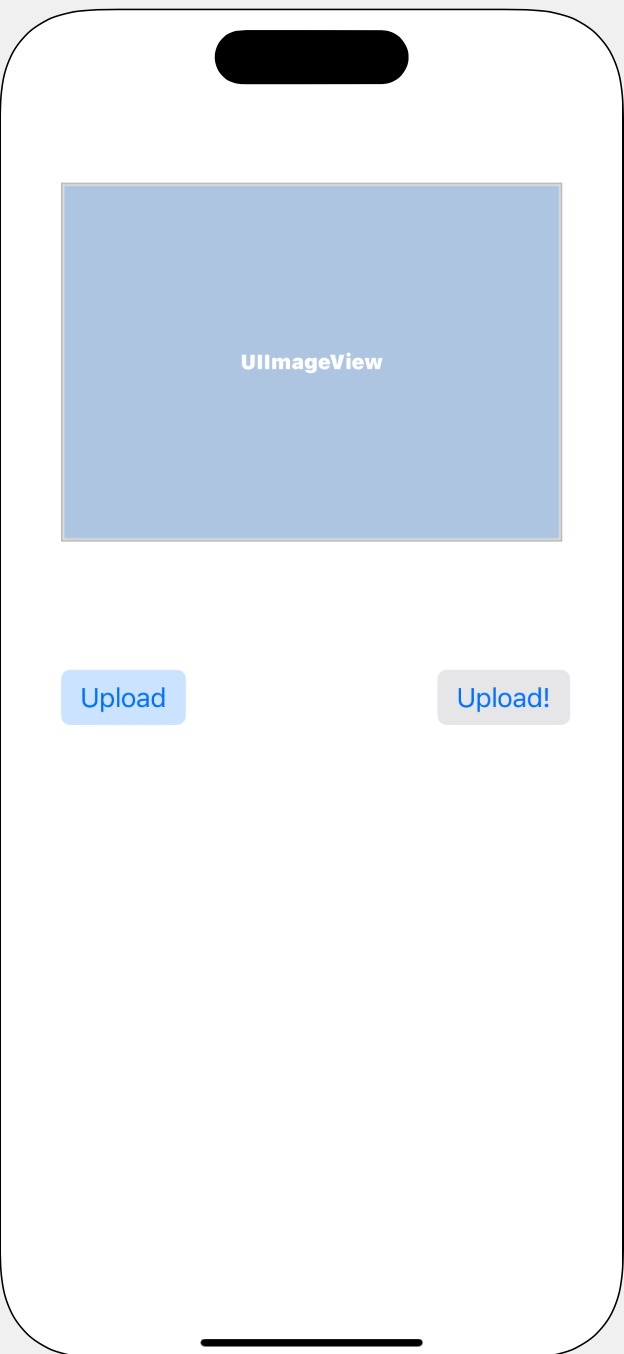
심플하게 위와 같이 구성해보았다.
이미지를 보여줄 ImageView, 사진을 선택하게 하는 버튼 2개
왼쪽 오른쪽을 구분해주었다.
2. 코드 구성
1. UIPickerContoller
1
2
3
4
5
6
7
8
9
10
extension ViewController : UIImagePickerControllerDelegate, UINavigationControllerDelegate {

    func imagePickerController(_ picker: UIImagePickerController, didFinishPickingMediaWithInfo info: [UIImagePickerController.InfoKey : Any]) {

    }

    func imagePickerControllerDidCancel(_ picker: UIImagePickerController) {

    }
}
비교를 위해 두개를 적어보았다.
우선 보기쉽게하기위해 extension으로 분리하여 구현했다.
imagePickerController(didFinishPickingMediaWithInfo),imagePickerControllerDidCancel
이 두 함수는 내가 생각하기엔 필수로 구현해야 하는 기능이 아닐까 생각한다.
1
2
3
func imagePickerController(_ picker: UIImagePickerController, didFinishPickingMediaWithInfo info: [UIImagePickerController.InfoKey : Any]) {

    }
위의 함수는 내가 이미지를 선택하고 난 이후의 상황에 대해 지시를 하는 함수라고 보면된다.
여기서 선택한 이미지를 imageView에 띄워준다.
1
2
3
func imagePickerControllerDidCancel(_ picker: UIImagePickerController) {

    }
이 함수는 내가 취소버튼을 눌렀을때의 어떻게 지시를 할건지에대한 내용을 담는다.
취소버튼을 눌렀을때, 그냥 사라지게 할수도 있고(dismiss) 아니면 기존에 알아보았던 alertController를 이용해 취소되었습니다 라는 메세지를 남겨주어도 될것같다.
2. PHPickerViewController
1
2
3
4
5
6
7
8
9
10
import PhotosUI

// php
extension ViewController : PHPickerViewControllerDelegate {

    func picker(_ picker: PHPickerViewController, didFinishPicking results: [PHPickerResult]) {

    }
}
하나의 함수만 존재한다, 여기서 dismiss와 imageview에 전달하는 방식으로 하게된다.
3. 코드 구현
1. UIImagePickerControllerDelegate
우선 버튼을 눌렀을때 imagepicker가 나와야 하므로,
1
2
3
@IBAction func uploadImage(_ sender: UIButton) {

    }
이부분에 먼저 pickerInstance를 하나 만들어준다.
프로토콜을 채택했으니 델리게이트를 위임하는것을 잊지 말자.
1
2
3
4
5
6
7
@IBAction func uploadImagePicker(_ sender: UIButton) {
        let picker = UIImagePickerController()
        picker.sourceType = .photoLibrary
        picker.allowsEditing = true
        picker.delegate = self
        self.present(picker, animated: true)
    }
- sourceType : camera, photoLibrary, savedPhotosAlbum 이렇게 3개가 존재한다
- camera 빼고 나머지 2개는 xcode 버전이 업데이트되면 사라질 예정
- allowedEditing : 이미지 편집 허용
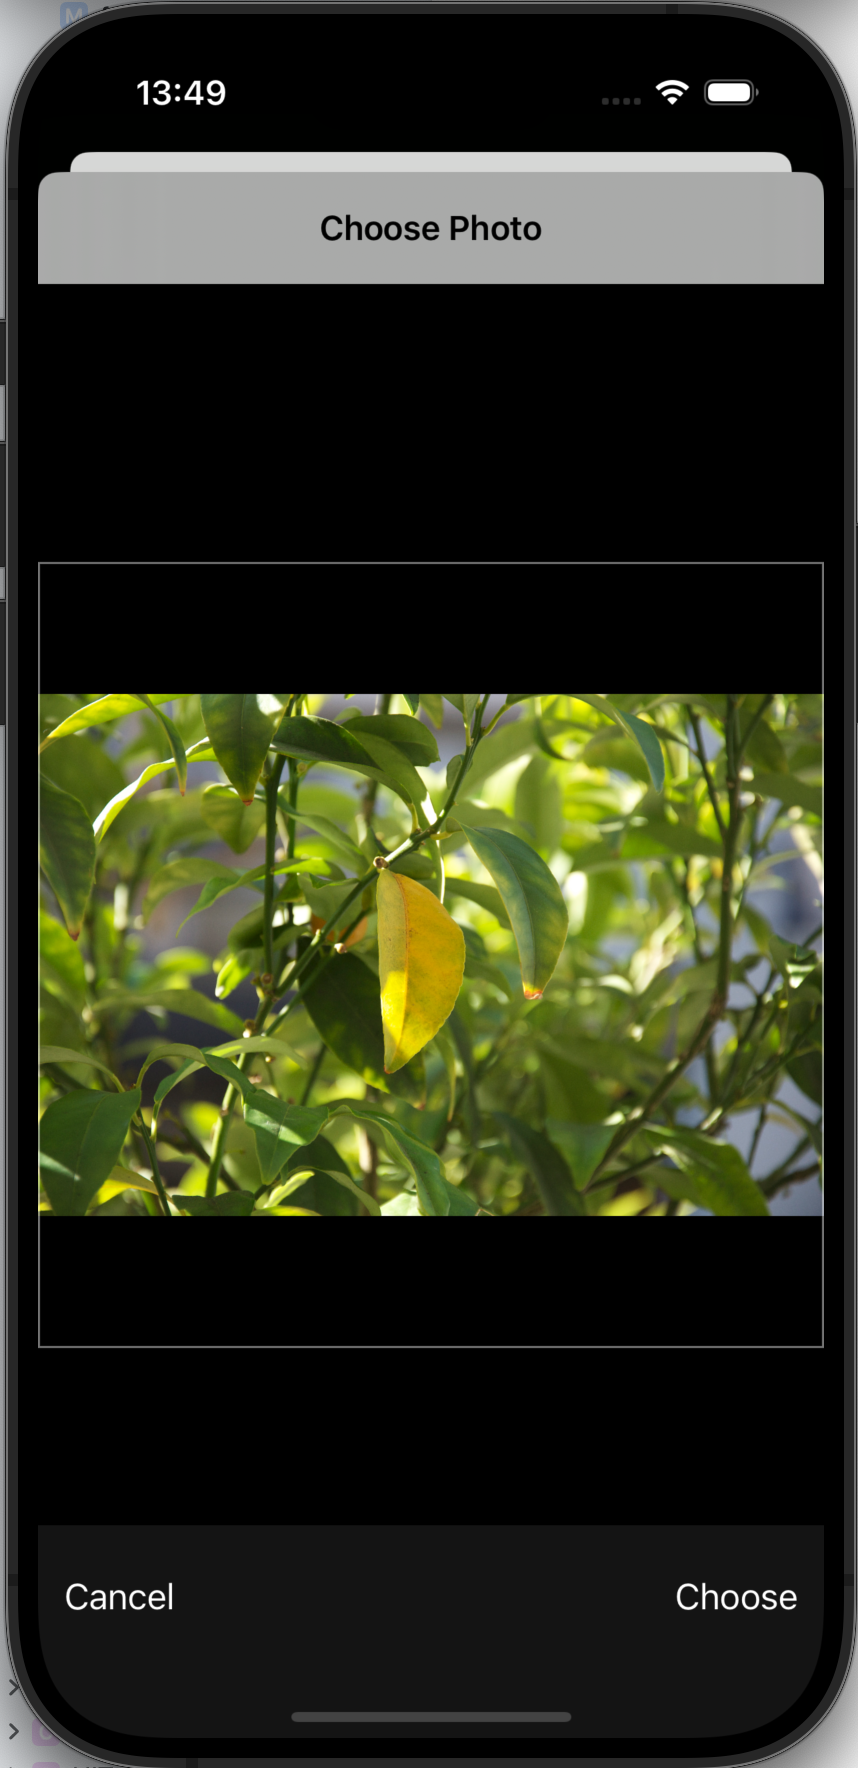
- 이렇게 이미지를 선택하면 사이즈조절 원하는부분 설정 등을 할 수 있다

1
2
3
4
5
6
7
8
9
10
11
12
13
14
15
16
17
18
extension ViewController : UIImagePickerControllerDelegate, UINavigationControllerDelegate {

    func imagePickerController(_ picker: UIImagePickerController, didFinishPickingMediaWithInfo info: [UIImagePickerController.InfoKey : Any]) {

        if let selectedImage = info[UIImagePickerController.InfoKey.editedImage] as? UIImage {
            self.displayView.image = selectedImage
        }

        picker.dismiss(animated: true)

    }

    func imagePickerControllerDidCancel(_ picker: UIImagePickerController) {

        self.dismiss(animated: true)
    }

}
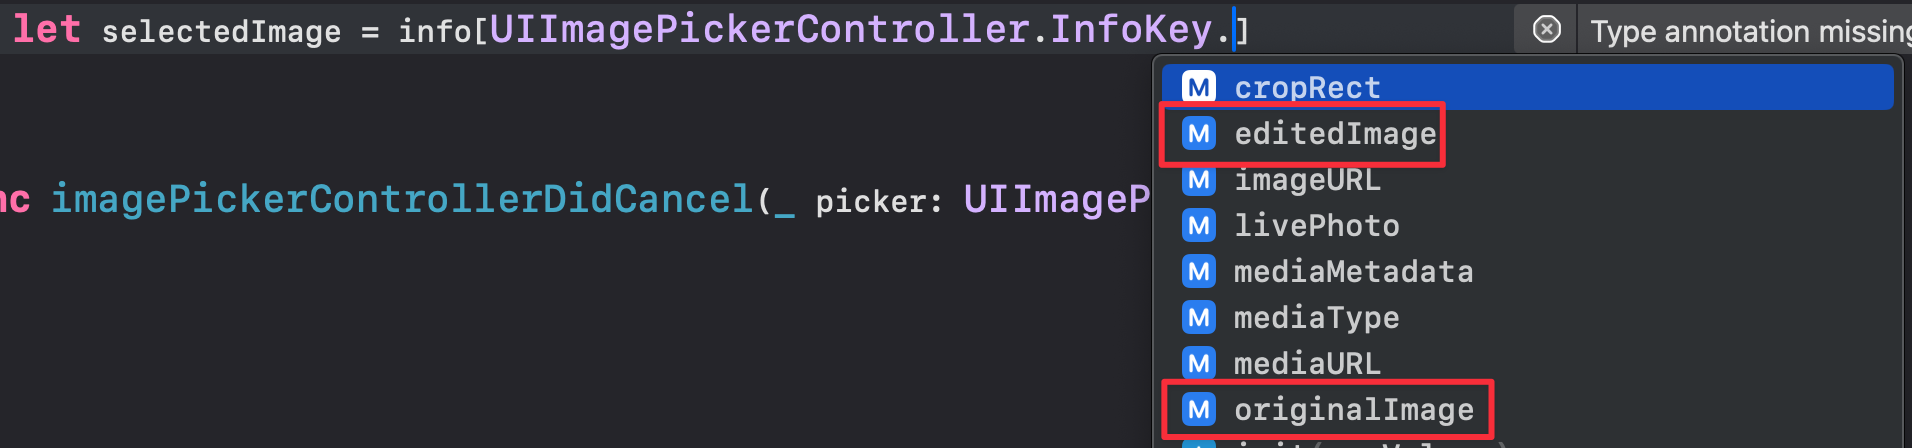
위에 allowEditing = true 를 하면 반드시 editedImage로 해줘야한다. 안하면 사진이 보이지 않음.
그리고 다운캐스팅을 해줘야 한다!
2. PHPickerViewControllerDelegate
1
2
3
4
5
6
7
8
9
10
11
12
13
14
15
16
17
18
19
20
21
22
23
24
25
26
27
28
29
30
31
32
33
34
35
36
37
38
39
@IBAction func uploadImage(_ sender: UIButton) {
        var configuration = PHPickerConfiguration()
        configuration.selectionLimit = 1
        configuration.filter = .images
        let picker = PHPickerViewController(configuration: configuration)

        picker.delegate = self

        self.present(picker, animated: true)
    }

extension ViewController : PHPickerViewControllerDelegate {

    func picker(_ picker: PHPickerViewController, didFinishPicking results: [PHPickerResult]) {
        self.dismiss(animated: true)

        for result in results {
            result.itemProvider.loadObject(ofClass: UIImage.self) { (image,error) in
                if let selectedImage = image as? UIImage {
                    DispatchQueue.main.async {
                        self.displayView.image = selectedImage
                    }
                }
            }
        }

//        results.forEach { result in
//            result.itemProvider.loadObject(ofClass: UIImage.self) { (image,error) in
//                if let selectedImage = image as? UIImage {
//                    DispatchQueue.main.async {
//                        self.displayView.image = selectedImage
//                    }
//                }
//            }
//        }
    }


}
역시 미리 설정을 하지만, 위와는 다르게 최대 몇장의 이미지를 선택할수있을지 정할 수 있고 filter에는 여러 프로퍼티가 있다.
프로퍼티들은 Docs를 통해 확인할것.
아래 함수는 주석친것과 안친것은 같은 내용이다. (for, forEach의 차이)
특이한점이라면? 여러 이미지를 선택 할 수 있기에,
반복문을 통해 접근을 하게 된다. 내가 선택한 이미지들은 results라는 배열에 담기게 되고, 그걸 하나씩 꺼내서 image로 리턴하는것이라고 보면 되겠다.
UIpicker보다는 확실히 더 코드 구현에 있어 디테일 해졌다.
그리고 특이한점이라면
바로 DispatchQueue 하여 비동기방식으로 전달을 한다는 것이다.
해당 내용을 적지 않으면 사진이 보이지 않고, mainthread에서 실행이 되어야한다는 보라색 창의 문구가 뜨게 된다.
4. 작동화면 (통합)