(Deep Dive) UIAlertController
이번주차 과제를 진행하다보니 UIAlertController에 대해 사용하는 부분이 있어서
인터넷으로 하나하나 계속 찾아보면서 진행하는 것 보다는 전반적으로 좀 파악을 하고 진행을 하는게 더 좋아보여서 별도로 글을 작성해본다.
1. UIAlertController?
- 경고 메세지를 보여주는 오브젝트
- 기본형
1
2
@MainActor
class UIAlertController : UIViewController
2. 선언
1
2
3
4
5
let alert = UIAlertController(title: "My Alert", message: "This is an alert.", preferredStyle: .alert)
alert.addAction(UIAlertAction(title: NSLocalizedString("OK", comment: "Default action"), style: .default, handler: { _ in
NSLog("The \"OK\" alert occured.")
}))
self.present(alert, animated: true, completion: nil)
출처 : Apple Docs
3. 파헤쳐 보기
1
2
3
4
5
6
7
    @IBAction func activateAlert(_ sender: UIButton) {
        let alert = UIAlertController(title: "My Alert", message: "This is an alert.", preferredStyle: .alert)
        alert.addAction(UIAlertAction(title: NSLocalizedString("OK", comment: "Default action"), style: .default, handler: { _ in
        NSLog("The \"OK\" alert occured.")
        }))
        self.present(alert, animated: true, completion: nil)
    }
우선 버튼에 다음과 같이 넣었고 어떻게 작동이 되는지 확인을 해보기로 했다.
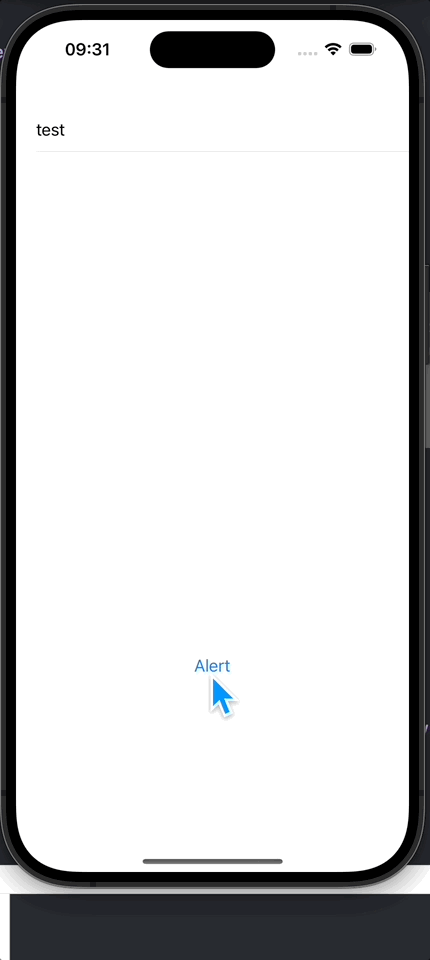
아 이런느낌이구나 라는게 직관적으로 왔다.
1. 1st Line
let alert = UIAlertController(title: "My Alert", message: "This is an alert.", preferredStyle: .alert)
- title : 말그대로 제목
- message : 우리가 내용을 담을 부분 (뭔가 안내등을 좀 더 나타내고자 할때)
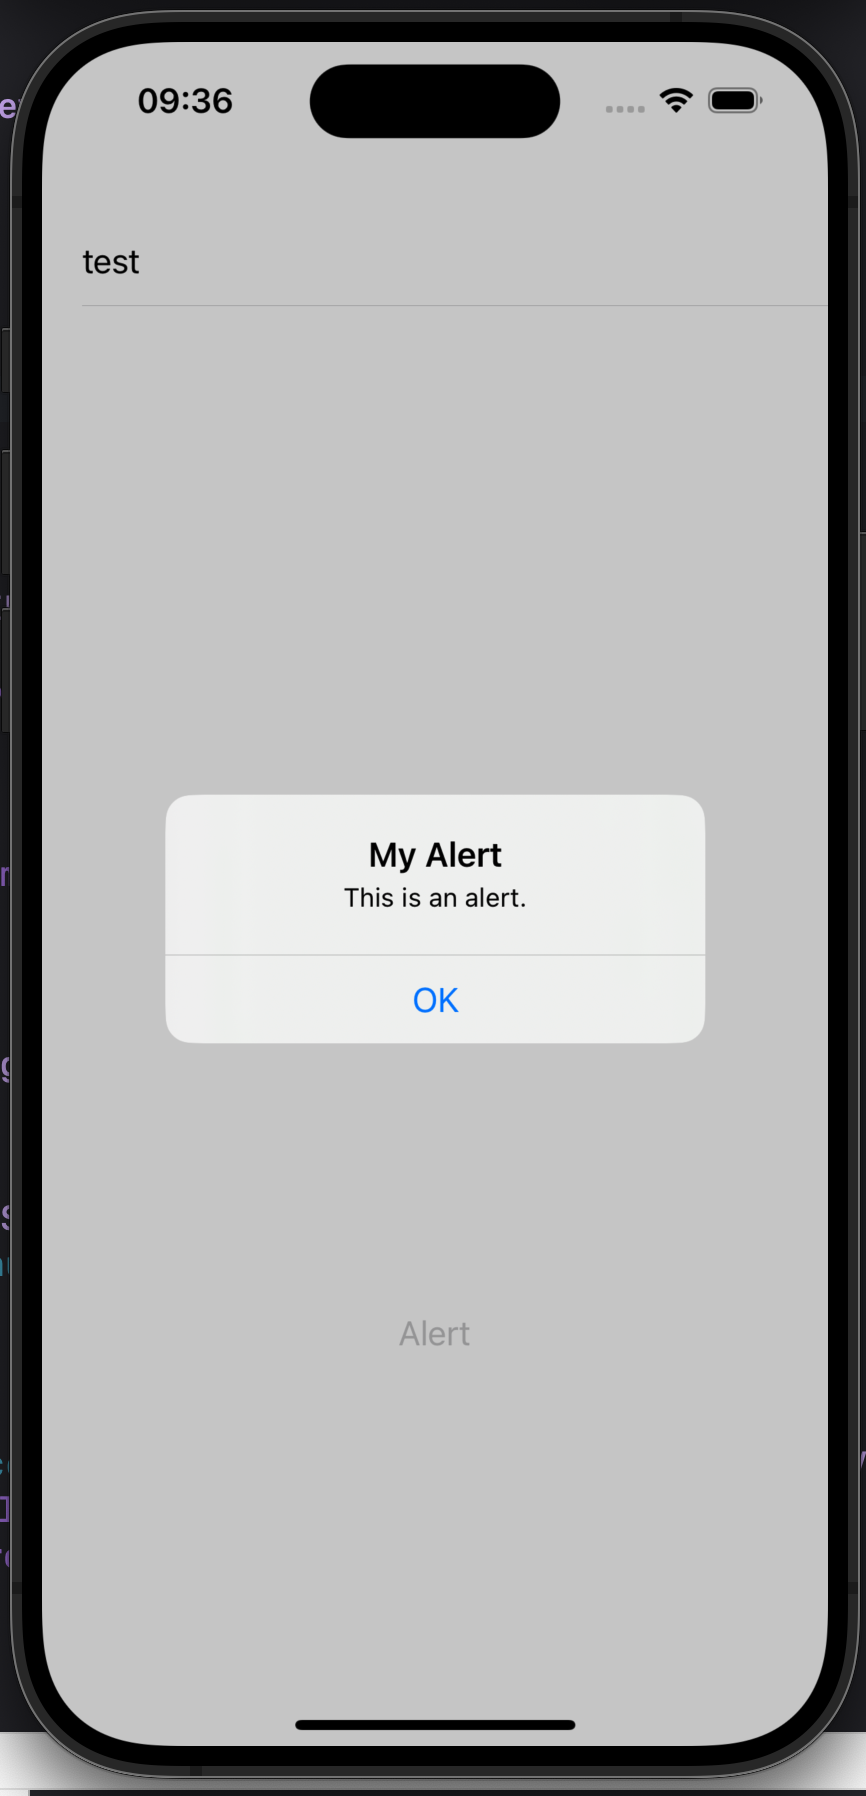
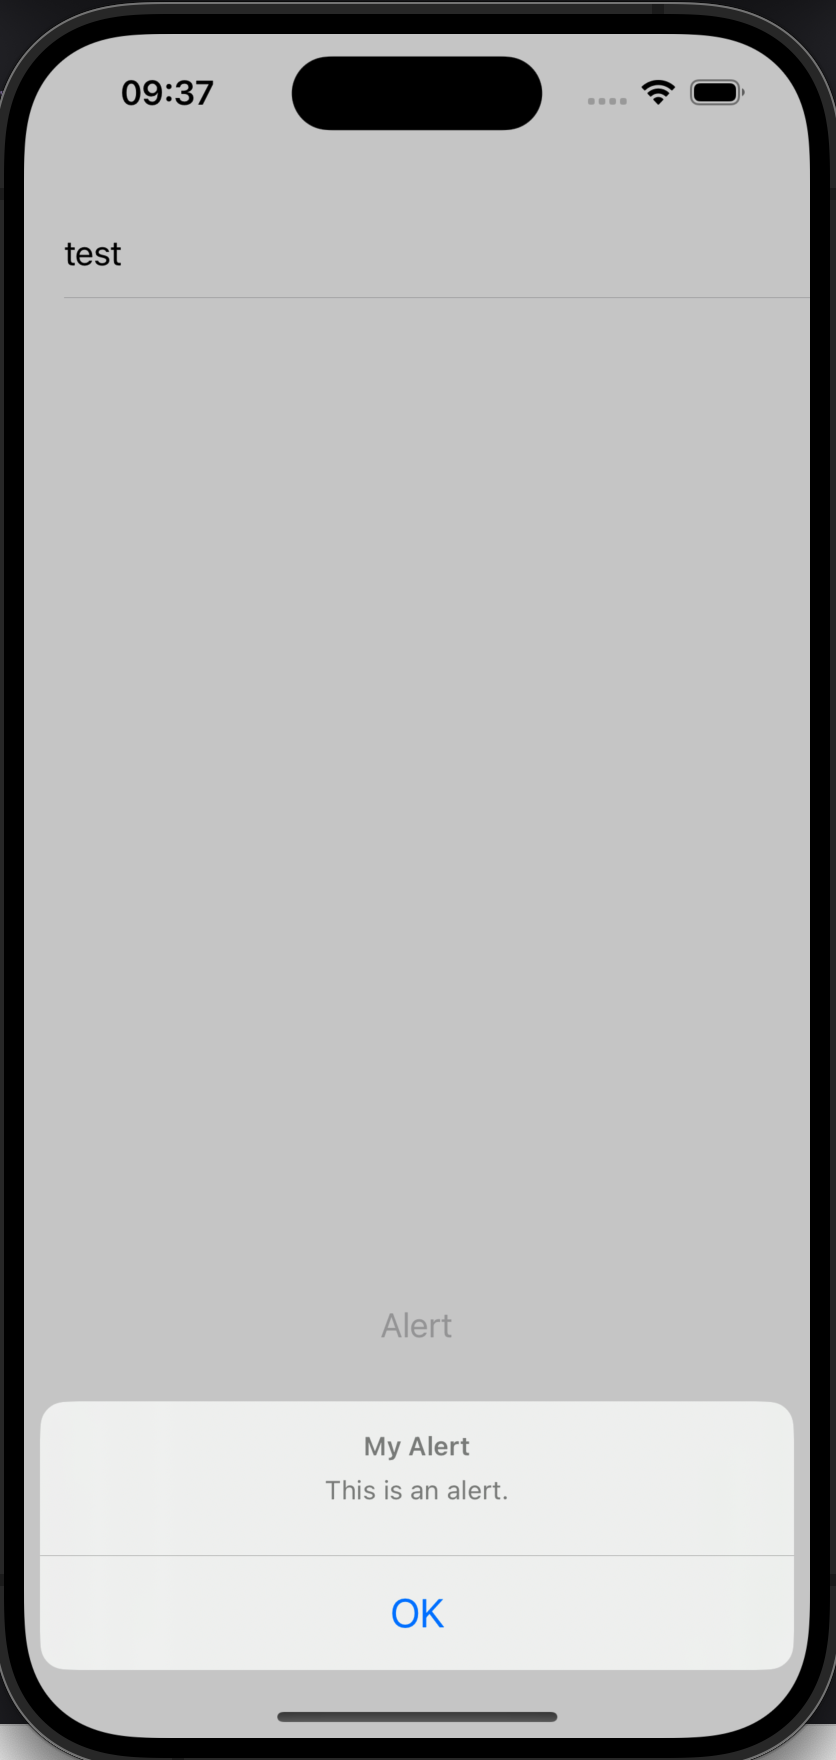
- preferredStyle : 어떻게 표시가 될것인지? 총 2가지의 종류가 있다.
- alert : 정중앙에 나타나서 보여주는 방식
- actionSheet : 하단에서 올라와서 보여주는 방식
- alert : 정중앙에 나타나서 보여주는 방식
2. 2nd Line
1
2
3
alert.addAction(UIAlertAction(title: NSLocalizedString("OK", comment: "Default action"), style: .default, handler: { _ in
        NSLog("The \"OK\" alert occured.")
        }))
말그대로 어떠한 행동을 추가해줄때 사용하며, 위의 내용은 OK 를 누르게끔 만들어 주고 그랬을때 콘솔에 알려주는 식으로 작성이 되었다.
- title : 제목. 이것을 사용하여 경고의 이유를 전달
- message : 추가 세부 정보를 제공하는 설명 텍스트
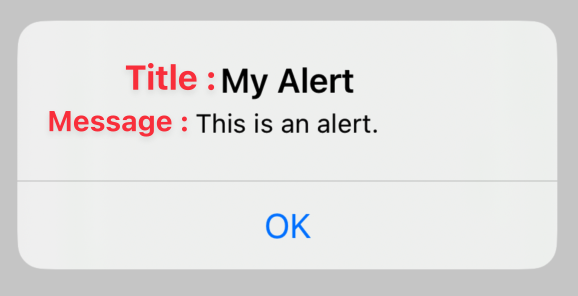
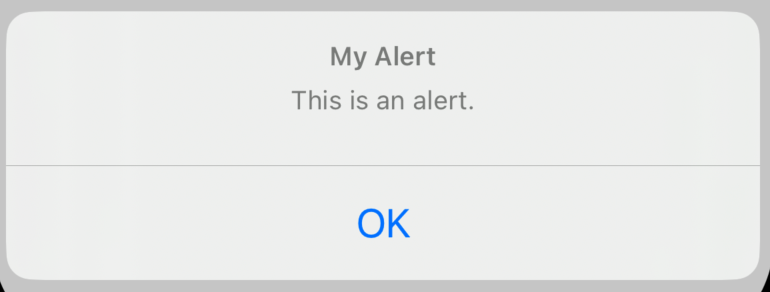
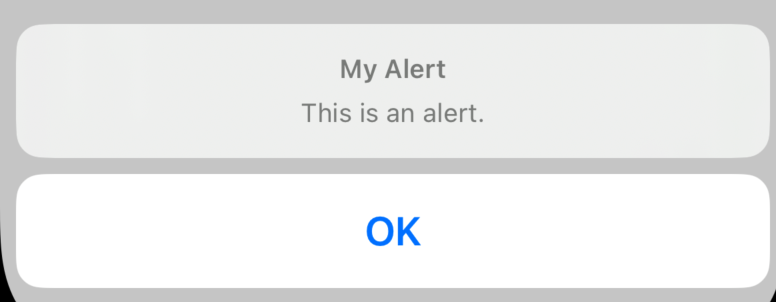
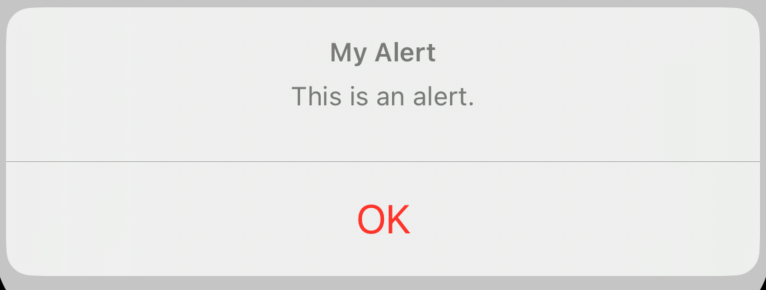
- preferredStyle : 보여주는 스타일이며 3종류가 있다. 설명은 사진으로 대체한다.
- default
- cancel :
- destructive :
- default
- handler : 해당 내용을 눌렀을때 특정한 기능을 수행하게 하는 것
⭐️ alert.addAction도 있지만, 별도로 액션을 개체화 해서 사용하는 것도 가능하다.
1
2
let action = UIAlertAction(title, style:) { (action) in }
alert.addAction(action)
4. 구현해보기.
0. 구상
- 버튼을 눌러 UIAlertController를 구현한다.
- Alert를 통해 내가 값을 입력한다.
- 입력한값을 TableView에 표시되게 한다.
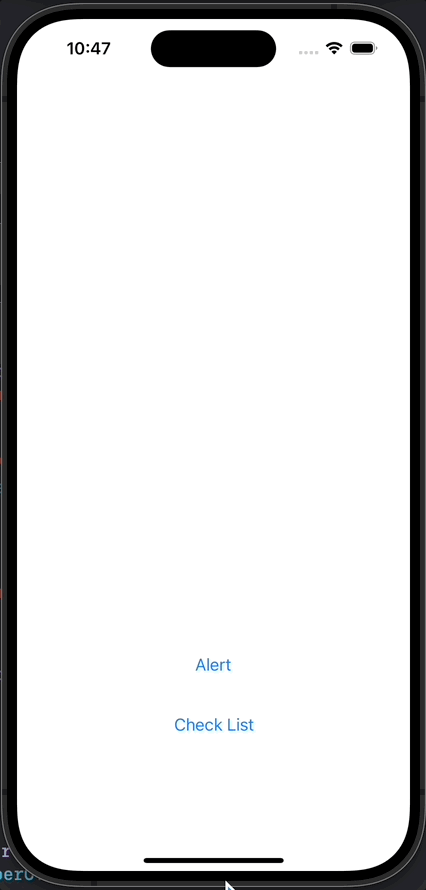
1. StoryBoard
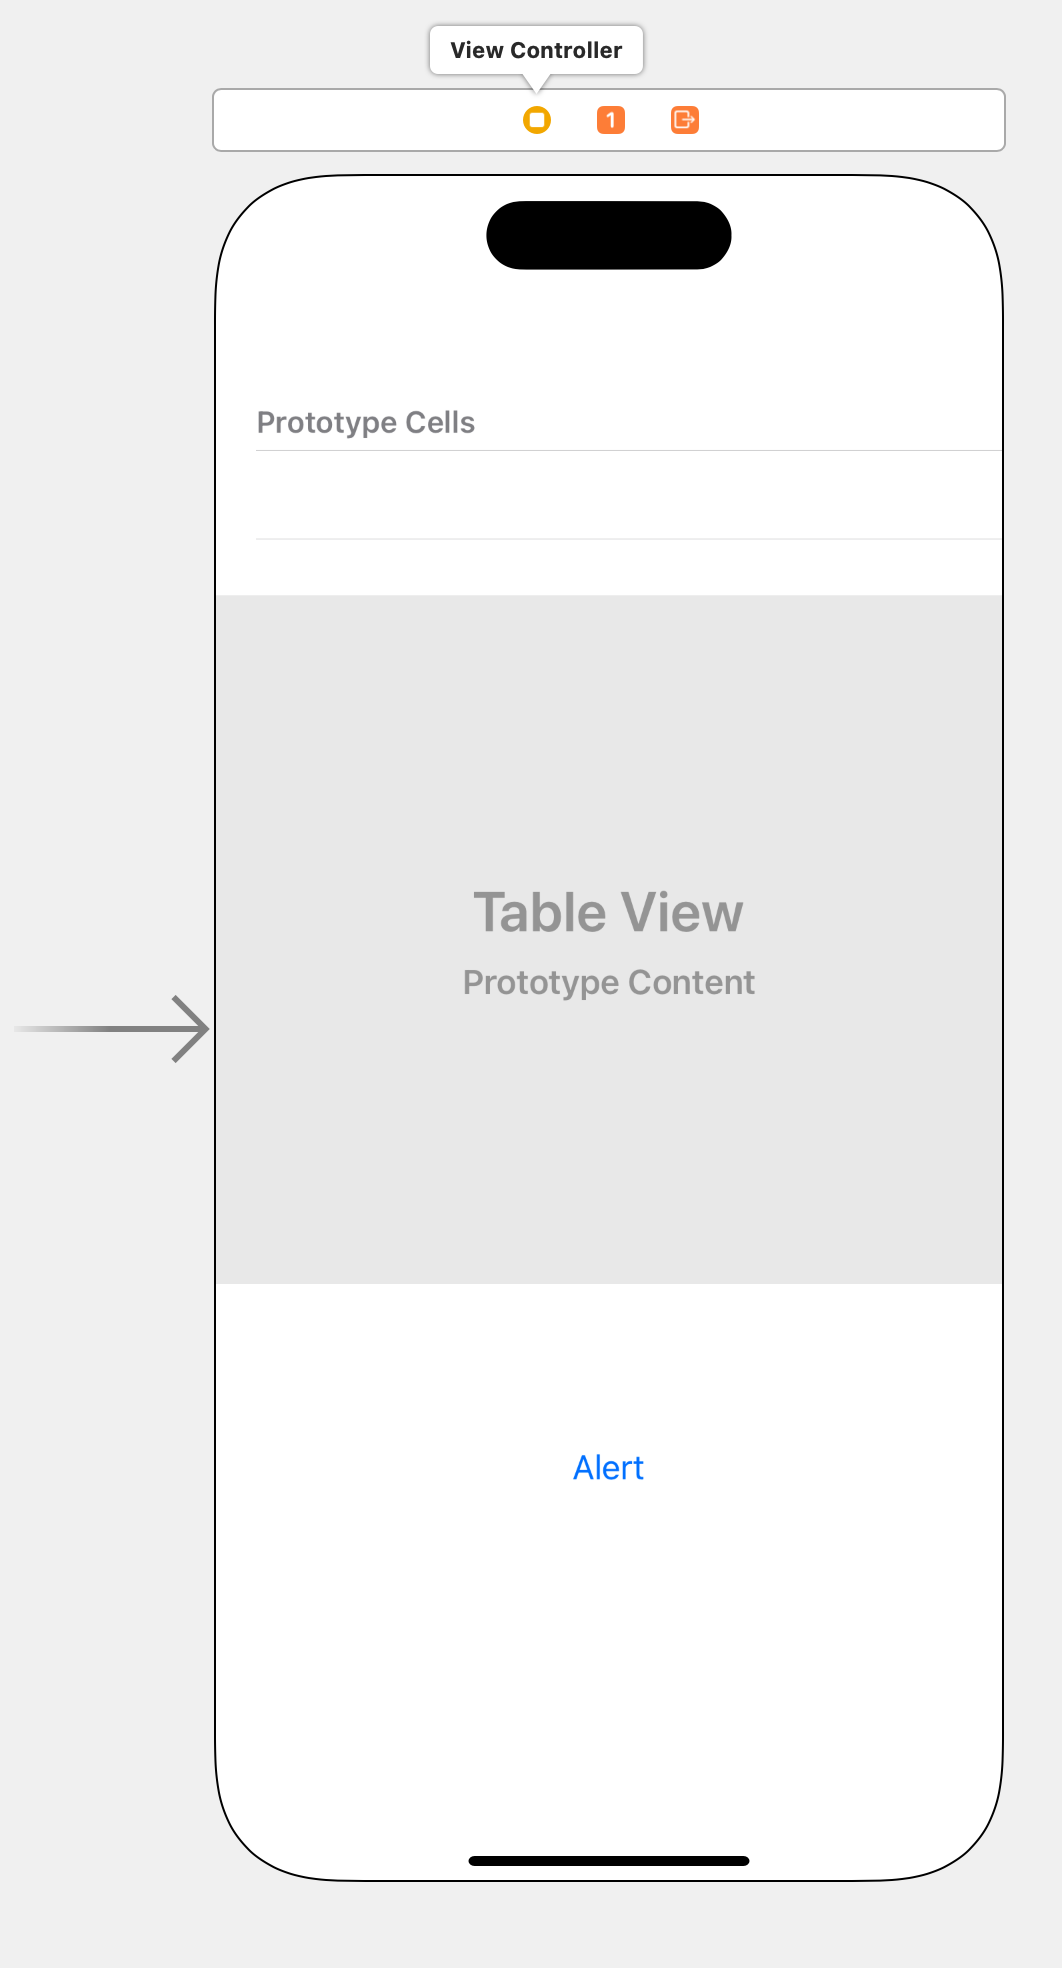
우선 심플하게 이렇게 구현을 해보았다.
2. 코드 작성
1
2
3
4
5
6
7
8
9
10
11
12
13
14
15
16
17
18
19
20
21
22
23
24
25
26
27
28
29
30
31
32
33
34
35
36
37
38
39
40
41
42
43
44
45
46
47
48
49
import UIKit
class ViewController: UIViewController {
@IBOutlet weak var tableView: UITableView!
var lists : [ArrayModel] = []
var id = 0
override func viewDidLoad() {
super.viewDidLoad()
tableView.dataSource = self
tableView.delegate = self
}
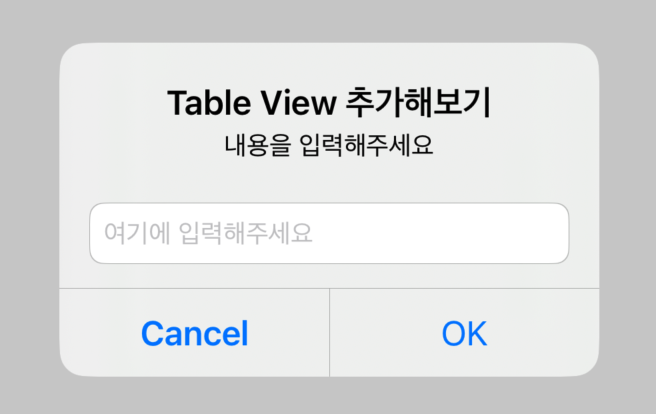
@IBAction func activateAlert(_ sender: UIButton) {
let alert = UIAlertController(title: "Table View 추가해보기", message: "내용을 입력해주세요", preferredStyle: .alert)
alert.addTextField()
alert.addAction(UIAlertAction(title: "OK", style: .default, handler: { [self] _ in
lists.append(ArrayModel(id: id, title: alert.textFields?[0].text ?? ""))
tableView.reloadData()
id += 1
}
))
alert.addAction(UIAlertAction(title: "Cancel", style: .cancel))
self.present(alert, animated: true, completion: nil)
}
}
extension ViewController : UITableViewDelegate {
}
extension ViewController : UITableViewDataSource {
func tableView(_ tableView: UITableView, numberOfRowsInSection section: Int) -> Int {
return lists.count
}
func tableView(_ tableView: UITableView, cellForRowAt indexPath: IndexPath) -> UITableViewCell {
let cell = tableView.dequeueReusableCell(withIdentifier: "table", for: indexPath)
cell.textLabel?.text = lists[indexPath.row].title
return cell
}
}
직관적으로 작동하게 해두었다.
현재 배열의 값을 확인하기 위해 Check List라는 버튼을 추가로 만들었다.
3. 작동 테스트
잘된다.
6. ETC
textField를 조금 더 보완하고 싶다면?
1
2
3
4
5
6
7
8
9
// before
alert.addTextField()

// after
alert.addTextField { (textField: UITextField!) in
            textField.placeholder = "여기에 입력해주세요"
            textField.autocorrectionType = .no
            textField.spellCheckingType = .no
        }
Done!
7. 참고사이트
https://developer.apple.com/documentation/uikit/uialertcontroller
https://nshipster.com/uialertcontroller/
https://zeddios.tistory.com/249
https://stackoverflow.com/questions/15760699/change-the-keyboard-type-of-uitextfield-in-uialertview