3일차
문제풀고 이것저것 적느라 이틀만에 수강을 한거같다.
- 데이터 관리
- 배열과 딕셔너리의 사용
- 배열과 딕셔너리는 비슷하면서도 굉장히 다른 컬렉션
- 배열 - 같은 형태의 데이터를 그리는데 사용
- 인덱스로 접근
- 반복하기가 쉬움
- 딕셔너리 - 키와 밸류 형태
- 키 값으로 접근
- 반복이 아닌 접근
- 데이터 모델링
- 데이터의 그룹 - 설계를 하고 개발을 하다보면 만나는 데이터들
- 데이터의 틀을 만드는 작업인 모델링
- 의미를 부여하는 작업
- 데이터의 그룹 - 설계를 하고 개발을 하다보면 만나는 데이터들
시작할때 Main인 상태에서 option을 누른채로 ViewController를 클릭하여 Main과 viewController 두 화면을 Xcode에 띄워둔다.
그상태에서 view.backgroundColor = .색상 을 통해 현재 main과 viewController가 잘 연결 되어있는지 확인을 해두자.
아래 사진과 같다. 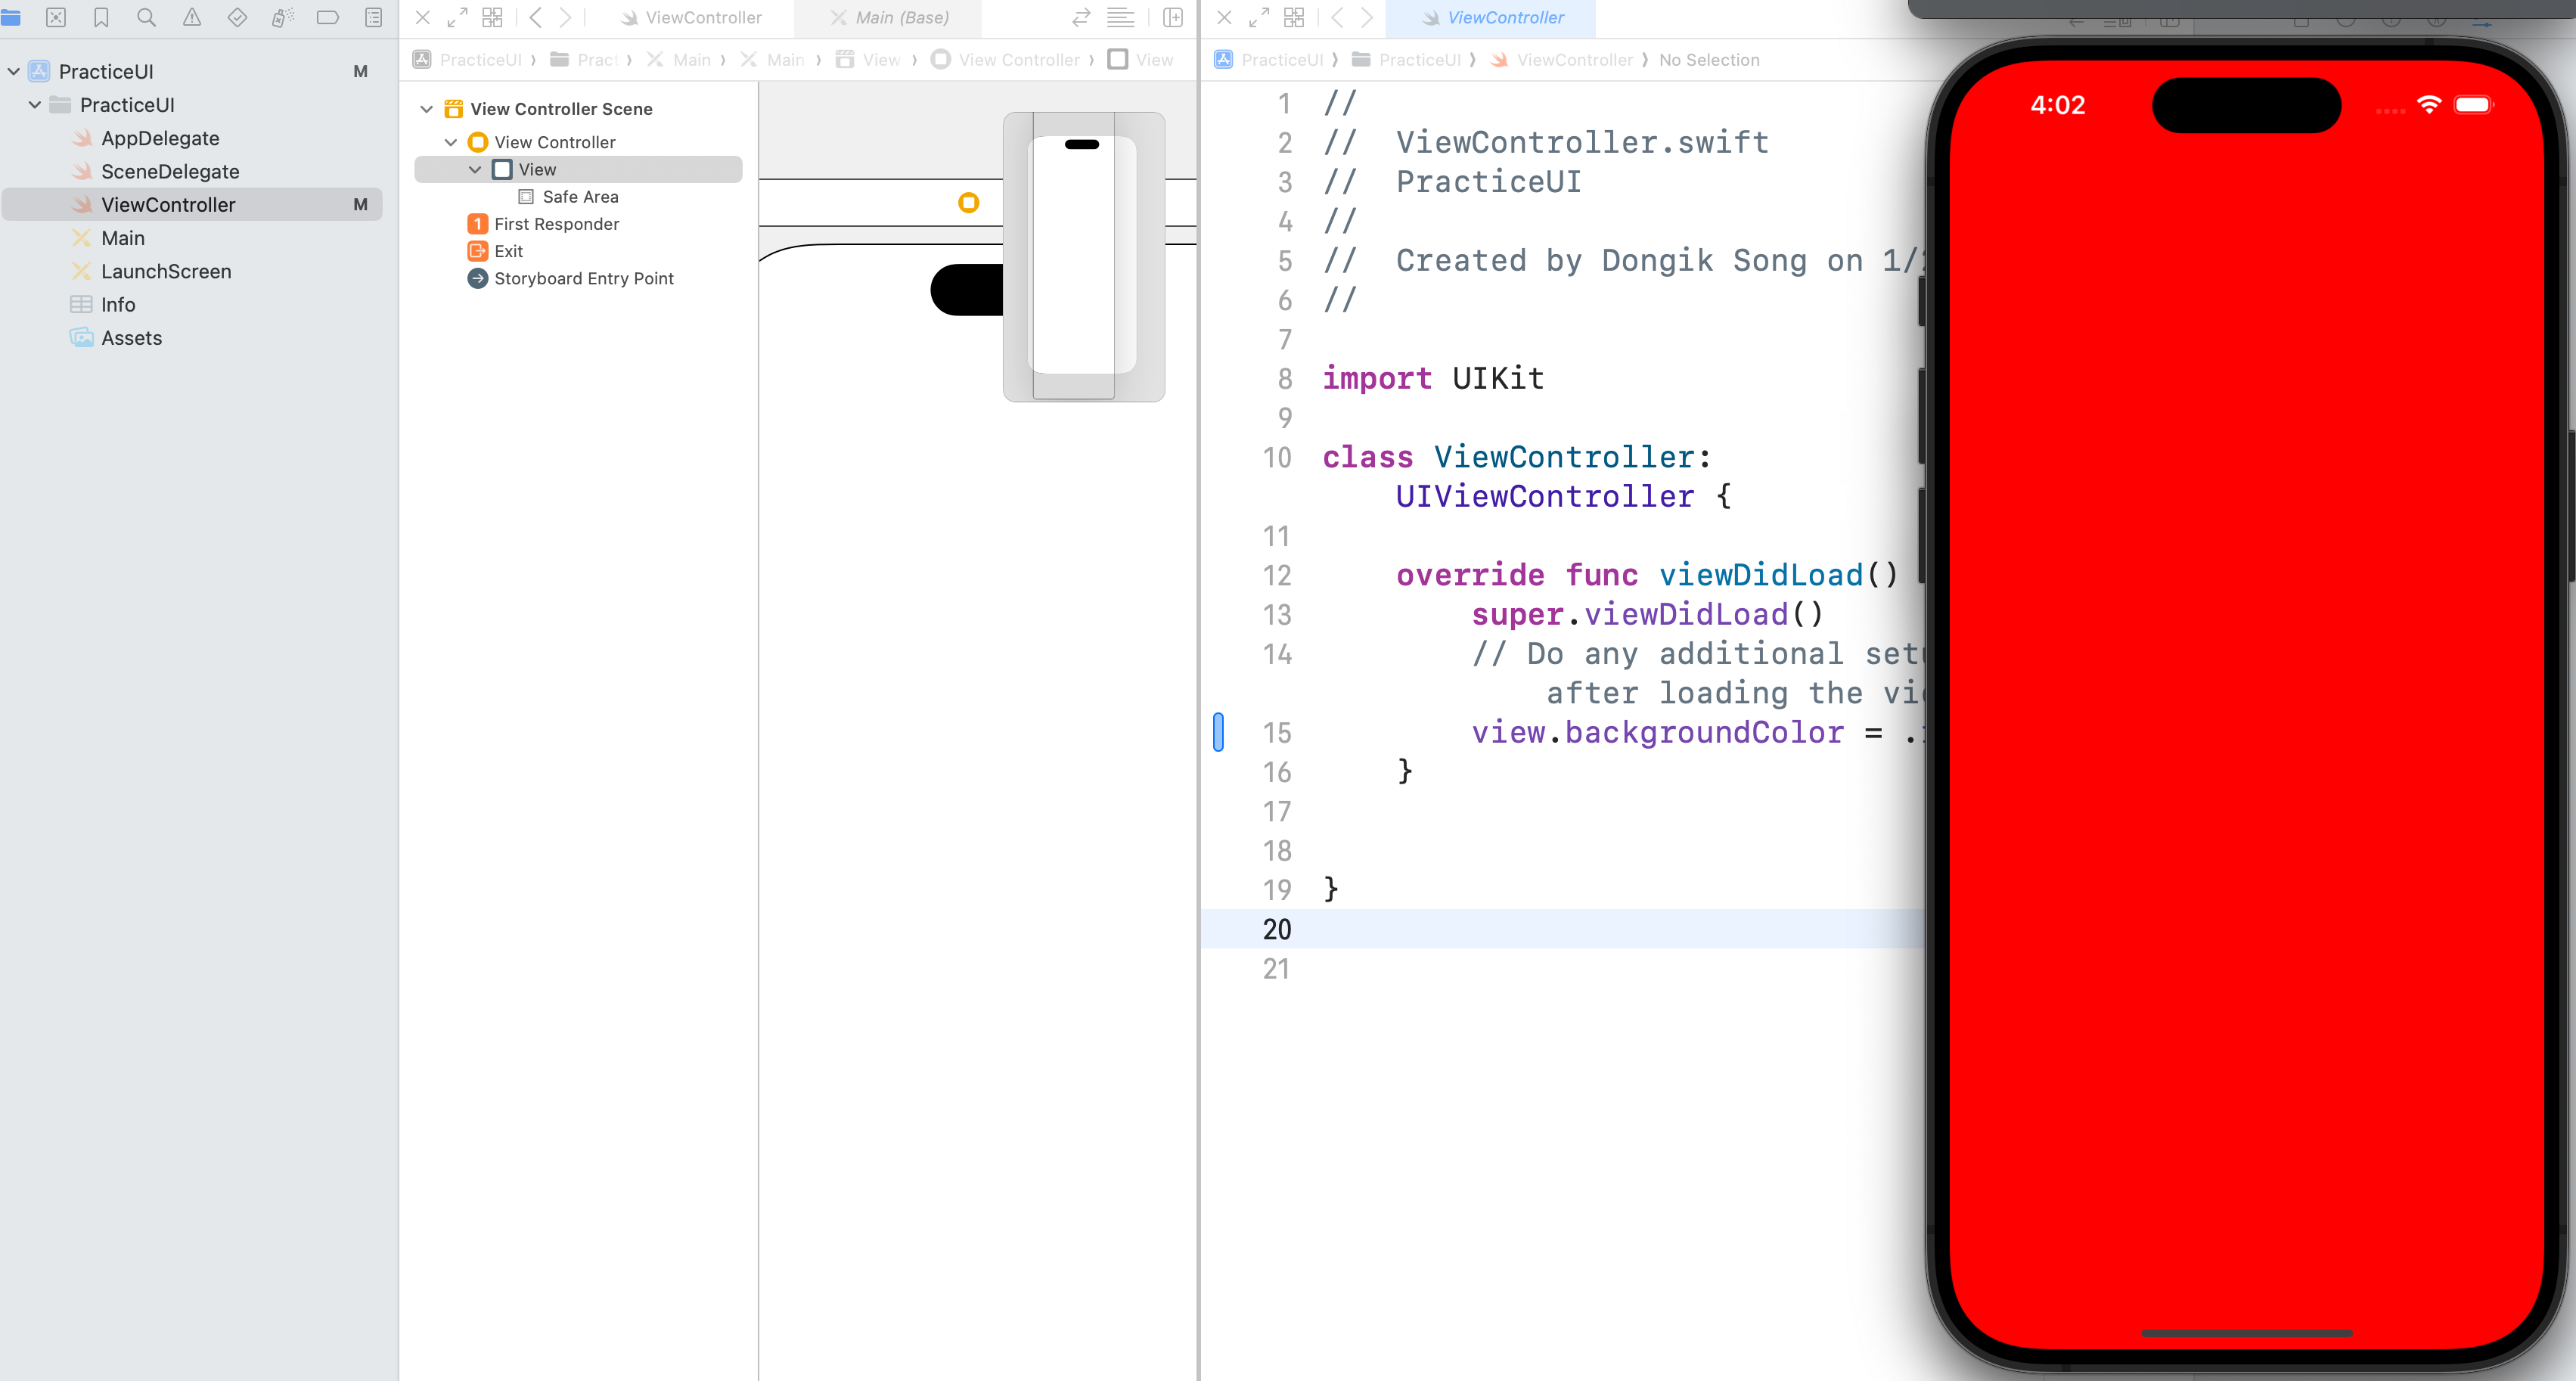
수업 전체 코드.
1
2
3
4
5
6
7
8
9
10
11
12
13
14
15
16
17
18
19
20
21
22
23
24
25
26
27
28
29
30
31
32
33
34
35
36
37
38
39
40
41
42
43
44
45
46
47
48
49
50
51
52
53
54
55
56
57
58
59
60
import UIKit

// 데이터의 그룹화 중 가장 쉬운 방법은 구조체 즉 class를 쓰는것이다.

struct Family {
    let myName : String
    let bestFriendName : String
    let nextFriendName : String
    let myBrother : String
}

class ViewController: UIViewController {

    let friendsNames : [String] = ["Henry", "Leeo", "Jay", "Key"]
    // index로 접근하던것을

    let koreanNames : [String : String] = ["Henry" : "헨리", "Leeo" : "리오", "Jay" : "제이"]
    // Key값으로 접근.

    var count : Int = 0
    let friend = Family(myName: "Henry1", bestFriendName: "Leeo1", nextFriendName: "Jay1", myBrother: "Key1")


    @IBOutlet weak var nameLabel: UILabel!
    @IBOutlet weak var bestFriendNameLabel: UILabel!
    @IBOutlet weak var nextFriendNameLabel: UILabel!


    override func viewDidLoad() {
        super.viewDidLoad()
        // Do any additional setup after loading the view.
    }

    @IBAction func didTapButton(_ sender: Any) {

        nameLabel.text = friend.myName
        bestFriendNameLabel.text = friend.bestFriendName
        nextFriendNameLabel.text = friend.nextFriendName
        //friend.myBrother

        // 이 코드에서는 내가 누군지 등 누구인지는 명확하지 않다
//        nameLabel.text = friendsNames[0]
//        bestFriendNameLabel.text = friendsNames[1]
//        nextFriendNameLabel.text = friendsNames[2]


//        let friendName = friendsNames[count]
//
//        nameLabel.text = koreanNames[friendName]
//
//        count = count + 1
//
//        if count > 2 {
//            count = 0
//        }
    }

}
주석부분은 데이터를 그룹화 하기전이다. 그룹화하기전에는 배열의 인덱스 값으로 접근하였고, 그러면서 각각의 레이블에 대입을 하는 방식으로 진행이 되었다.
그러다보니 실제로는 이 배열값으로 예시를 든다면, 내가 누군지, bestfriend는 누군지, nextfriend는 누군지는 정확하게 알수가 없다. 그래서 데이터를 그룹화 하기위해 class를 만들었고 struct라는 명령어를 통해 큰 틀인 Family를 만들고 그 하위에 myname, bestfriendname, nextfriendname, mybroter를 만들었다. 이렇게 되면 각각의 변수에 데이터를 대입함으로써, 각각의 데이터가 뭔지 명확하게 지정이 된다.
아래는 전체 코드에서 데이터의 그룹화 관련부분만 따로 빼왔다.
1
2
3
4
5
6
7
8
struct Family {
    let myName : String
    let bestFriendName : String
    let nextFriendName : String
    let myBrother : String
}

let friend = Family(myName: "Henry1", bestFriendName: "Leeo1", nextFriendName: "Jay1", myBrother: "Key1")
이 기사는 저작권자의 CC BY 4.0 라이센스를 따릅니다.