3주차 과제 (3)
이건 나중에 하려고했던건데, reloadData가 이상한것 같아서
먼저 DB를 구축하고 작업을 하려고 한다.
전반적인 내용은 FlashChat글에 적혀있으니 참고하면 될것같다.
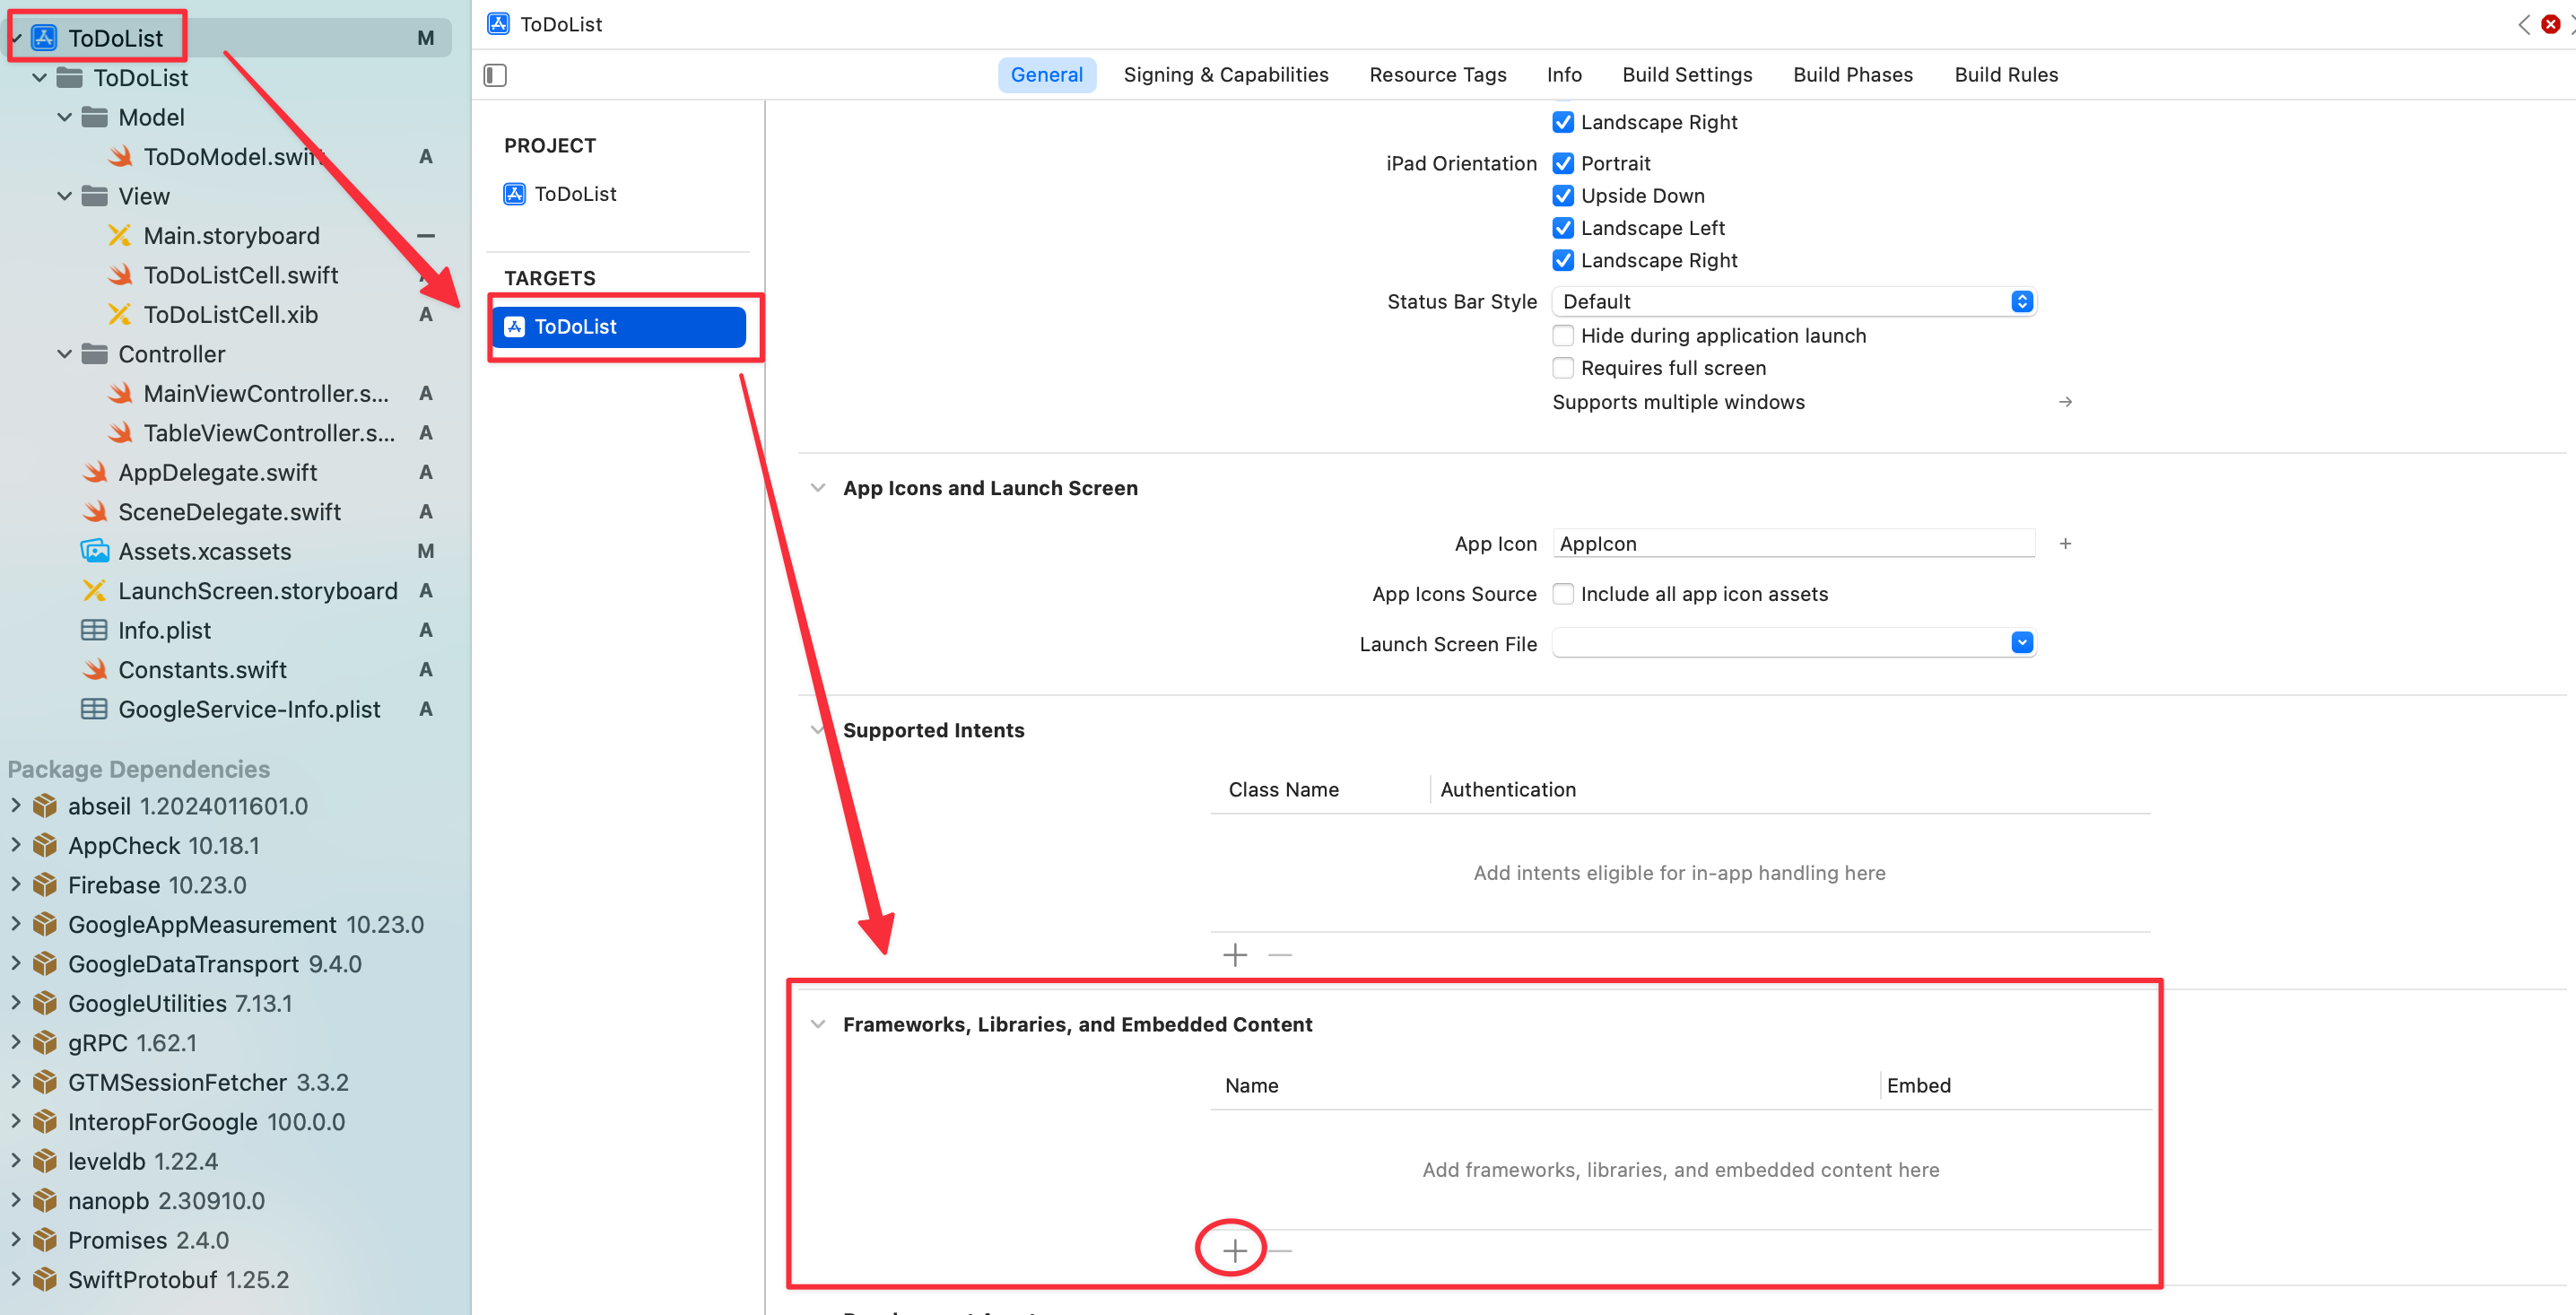
이번엔 CocoaPods를 쓰지 않았고 package를 등록하였다.
추가완료.
기본 설정.
초기화 코드를 추가하자.
설명에 다 나와있으므로 그대로 하면 된다.
import하는데 찾을수가 없다고 뜬다면
아래와 같이 필요한걸 추가해주면 된다.
DB 만들기
Docs에 나온대로 하면 된다.
자세한건 이전에 서술했으니 pass 하도록 하겠다.
출력값이 나오므로 잘 연결이 되었다.
DB에 값을 추가하기.
1
2
3
4
5
6
7
8
9
10
11
12
13
14
15
16
17
18
19
20
21
22
23
24
25
26
func makeAlert () {

        let alert = UIAlertController(title: "Table View 추가해보기", message: "내용을 입력해주세요", preferredStyle: .alert)

        let ok = UIAlertAction(title: "OK", style: .default, handler: { _ in // ok를 눌렀을때 내가 텍스트 필드에 입력한 내용을 등록하게 한다.

            self.db.collection(Constants.collectionName).addDocument(data: [Constants.Fire.fireId : self.id, Constants.Fire.fireTitle : alert.textFields?[0].text ?? "Sample", Constants.Fire.fireBool : false]) { (error) in
                if let e = error {
                    print("error : \(e.localizedDescription)")
                } else {
                    print("Upload Done")
                }
            }
            self.id += 1
        }) // id 1씩 추가

        let cancel = UIAlertAction(title: "Cancel", style: .cancel)
        alert.addTextField { (textField: UITextField!) in // textField 추가
                    textField.placeholder = "여기에 입력해주세요"
                    textField.autocorrectionType = .no
                    textField.spellCheckingType = .no
                }
        alert.addAction(ok)
        alert.addAction(cancel)
        self.present(alert,animated: false)
    }
이젠 배열에 넣는것이 아닌 위처럼 db에 직접 등록하게 만들었다.
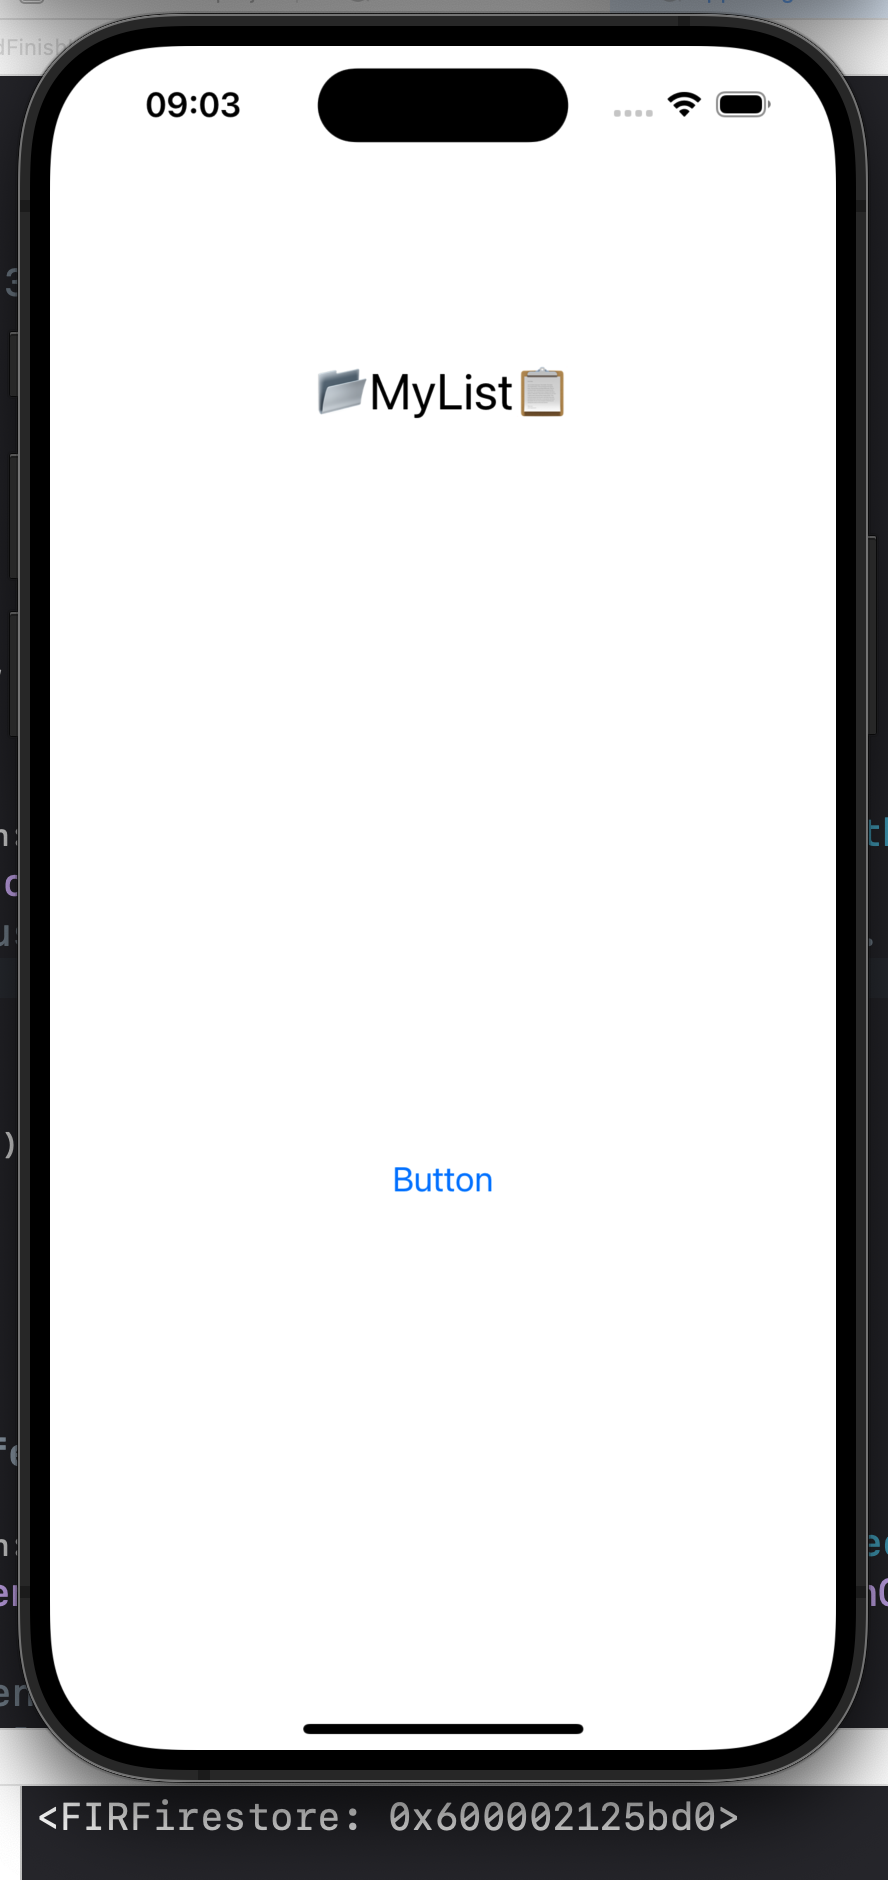
일단 업로드가 되는지 확인 해보자.
업로드 테스트라 적고 등록을 시도 해보았다.

느낌이 좋다.
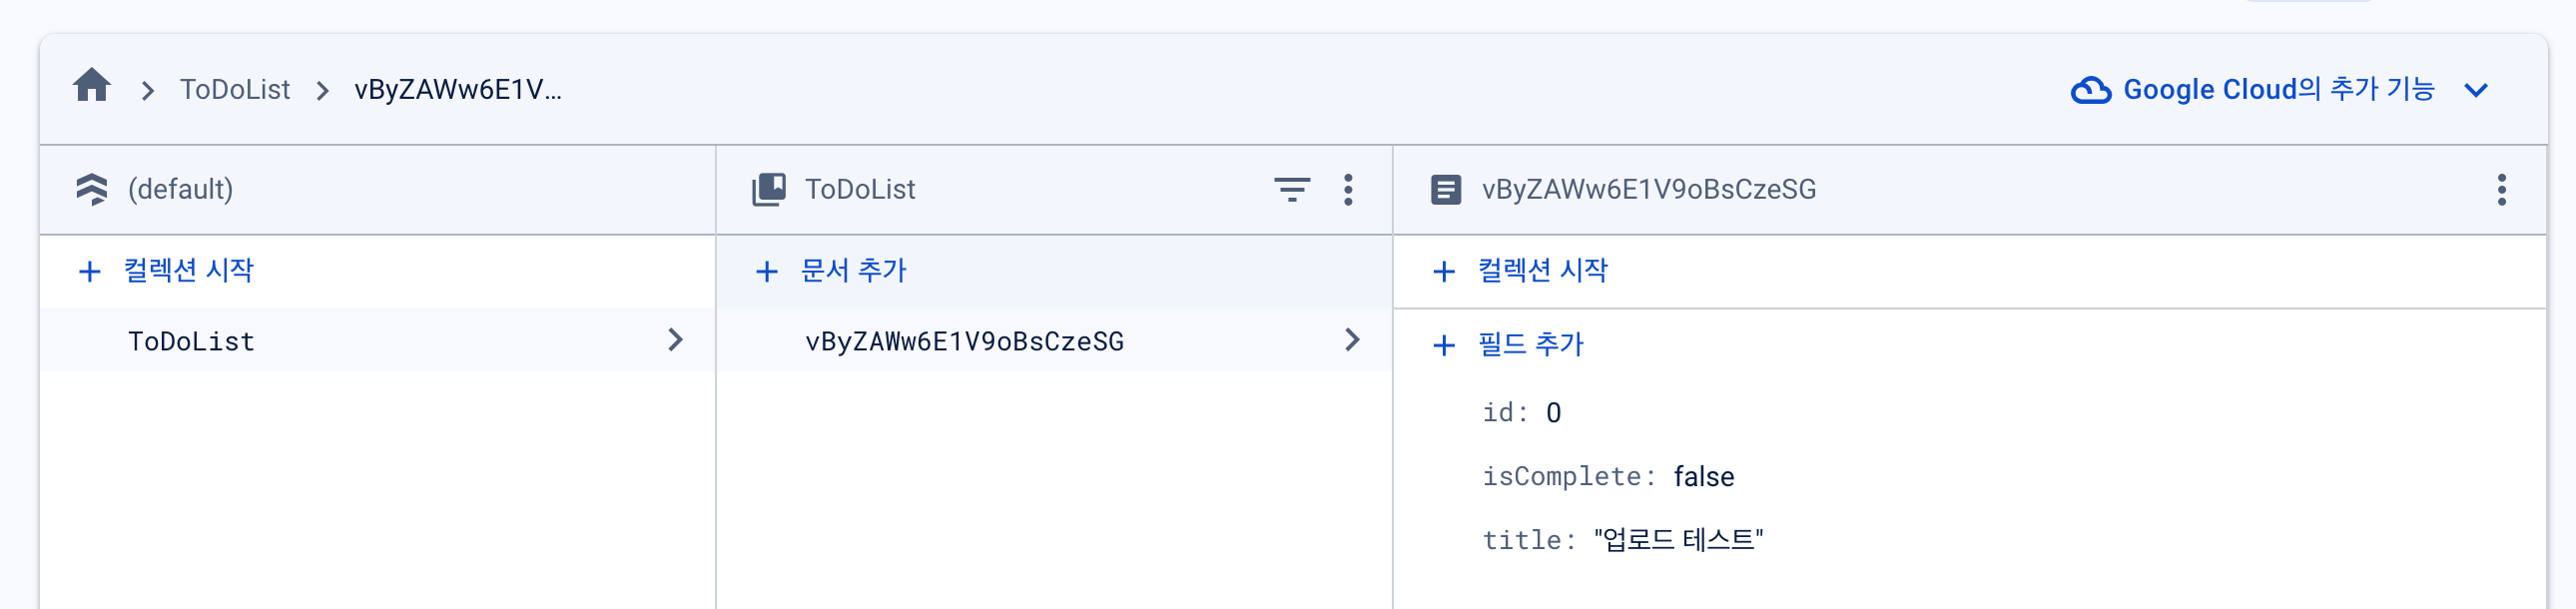
전달도 잘 되었다.
조금 더 작성을 해줘서 테스트 해보자.
DB 값 불러오기.
1
2
3
4
5
6
7
8
9
10
11
12
13
14
15
16
17
18
19
20
21
22
23
24
25
26
27
28
29
 func getData () {
        db.collection(Constants.collectionName).order(by: Constants.Fire.fireId)
            .addSnapshotListener { (querySnapshot, error) in
            self.lists = []

            if let e = error {
                print("error : \(e)")
            } else {
                if let snapshotDocuments = querySnapshot?.documents {
                    for doc in snapshotDocuments {
                        let data = doc.data()
                        if let listId = data[Constants.Fire.fireId] as? Int
                            , let listTitle = data[Constants.Fire.fireTitle] as? String
                            , let listBool = data[Constants.Fire.fireBool] as? Bool {

                            let list = ToDoModel(id: listId, title: listTitle, isComplete: listBool)

                            self.lists.append(list)

                            DispatchQueue.main.async {
                                self.tableView.reloadData()
                            }
                        }

                    }
                }
            }
        }
    }
생각보다 내용이 길지만, DB서버에 접근하여 우리가 원하는 Documents를 가져와서 배열에 집어넣어 tableview로 표시하게 하는 내용이다,
등록부분 id값 수정
현재는 0이 기본값이고 하나 등록할때마다 1씩 올라가게 해주었는데, DB에 연동시킨만큼 이제는 DB에서 id의 최댓값을 가져와서 해야한다.
하지만 어차피 실행하자마자 db로 가져와서 배열에 등록하므로, 배열에서 가져오기로 했다.
1
2
3
4
5
6
7
8
9
func getID () -> Int {

        if lists.count != 0 {
            return self.lists[lists.count-1].id + 1
        } else {
            return 0
        }

    }
1
2
3
4
5
6
7
8
9
10
11
12
13
14
15
16
17
18
19
20
21
22
23
24
25
26
27
func makeAlert () {

        let alert = UIAlertController(title: "Table View 추가해보기", message: "내용을 입력해주세요", preferredStyle: .alert)

        let ok = UIAlertAction(title: "OK", style: .default, handler: { _ in // ok를 눌렀을때 내가 텍스트 필드에 입력한 내용을 등록하게 한다.

            self.db.collection(Constants.collectionName).addDocument(data: [Constants.Fire.fireId : self.getID() // new
                                                                            , Constants.Fire.fireTitle : alert.textFields?[0].text ?? "Sample"
                                                                            , Constants.Fire.fireBool : false]) { (error) in
                if let e = error {
                    print("error : \(e.localizedDescription)")
                } else {
                    print("Upload Done")
                }
            }
        })

        let cancel = UIAlertAction(title: "Cancel", style: .cancel)
        alert.addTextField { (textField: UITextField!) in // textField 추가
                    textField.placeholder = "여기에 입력해주세요"
                    textField.autocorrectionType = .no
                    textField.spellCheckingType = .no
                }
        alert.addAction(ok)
        alert.addAction(cancel)
        self.present(alert,animated: false)
    }
TableView초기화 작업.
uiswitch 부분이 이상해서 튜터님께 여쭤보러 갔는데, 딱 내가 막혔던 부분을 잘 뚫어 주셨다.
내가만든 Cell Class에 prepareForReuse라는 함수를 오버라이딩 해서 재정의 하여 사용했어야 했다.
1
2
3
4
override func prepareForReuse() {
        super.prepareForReuse()
        finSwitch.setOn(false, animated: true)
    }
이렇게하면 기본적으로 갱신하면 false로 뜰것이다.
isComplete update
현재 스위치를 on/off하면 값이 바뀌지만 이게 DB에 저장되지는 않는다.
이제는 저장이 되게 수정 해보자.
대부분 특정 documents를 직접 지정하여 수정하는 방식으로 진행이 되어가고 있었다.
나는 그런 특정 documents를 알려면 웹사이트로 밖에 알 수가 없기에 document를 직접 네이밍 해주기로했다.
1
2
3
4
5
6
7
8
9
10
11
12
13
14
15
16
17
18
19
20
21
22
23
24
25
26
func makeAlert () {
        let alert = UIAlertController(title: "Table View 추가해보기", message: "내용을 입력해주세요", preferredStyle: .alert)

        let ok = UIAlertAction(title: "OK", style: .default, handler: { _ in // ok를 눌렀을때 내가 텍스트 필드에 입력한 내용을 등록하게 한다.

            self.db.collection(Constants.collectionName).document(String(self.getID())).setData([Constants.Fire.fireId : self.getID()
                                                                            , Constants.Fire.fireTitle : alert.textFields?[0].text ?? "Sample"
                                                                            , Constants.Fire.fireBool : false]) { (error) in
                if let e = error {
                    print("error : \(e.localizedDescription)")
                } else {
                    print("Upload Done")
                }
            }
        })

        let cancel = UIAlertAction(title: "Cancel", style: .cancel)
        alert.addTextField { (textField: UITextField!) in // textField 추가
                    textField.placeholder = "여기에 입력해주세요"
                    textField.autocorrectionType = .no
                    textField.spellCheckingType = .no
                }
        alert.addAction(ok)
        alert.addAction(cancel)
        self.present(alert,animated: false)
    }
기존엔 adddocuments였지만, 내가 직접 getID로 바꿨다. 즉 0, 1, 2, 3, 4, 5, 6 이런식으로 각 인덱스에 맞게 해주면 접근이 편하기 때문이었다.
테스트를 해보니 아주 잘된다.
1
2
3
4
5
6
7
8
9
10
11
12
13
14
15
 @objc func changeMode (sender : UISwitch) {
        guard let currentCell = tableView.cellForRow(at: IndexPath(row: sender.tag, section: 0)) as? ToDoListCell else { return }

        // switch를 조작했을때의 cell을 가져온다.
        if sender.isOn {
            db.collection(Constants.collectionName).document(String(sender.tag)).setData([Constants.Fire.fireBool : sender.isOn],merge: true)
            currentCell.toDoLabel.attributedText = currentCell.toDoLabel.text?.strikeThrough()
            lists[sender.tag].isComplete = sender.isOn
        } else {
            db.collection(Constants.collectionName).document(String(sender.tag)).setData([Constants.Fire.fireBool : sender.isOn],merge: true)
            currentCell.toDoLabel.attributedText = currentCell.toDoLabel.text?.removeStrike()
            lists[sender.tag].isComplete = sender.isOn
        }

    }
sender.tag와, getID는 같은 숫자로 가기때문에 접근이 더 편리해졌다.
이젠 값을 바꿀수 있게 되었다.
하지만 문제가 생겼다.
취소선과 버튼이 제멋대로 놀기 시작했다.
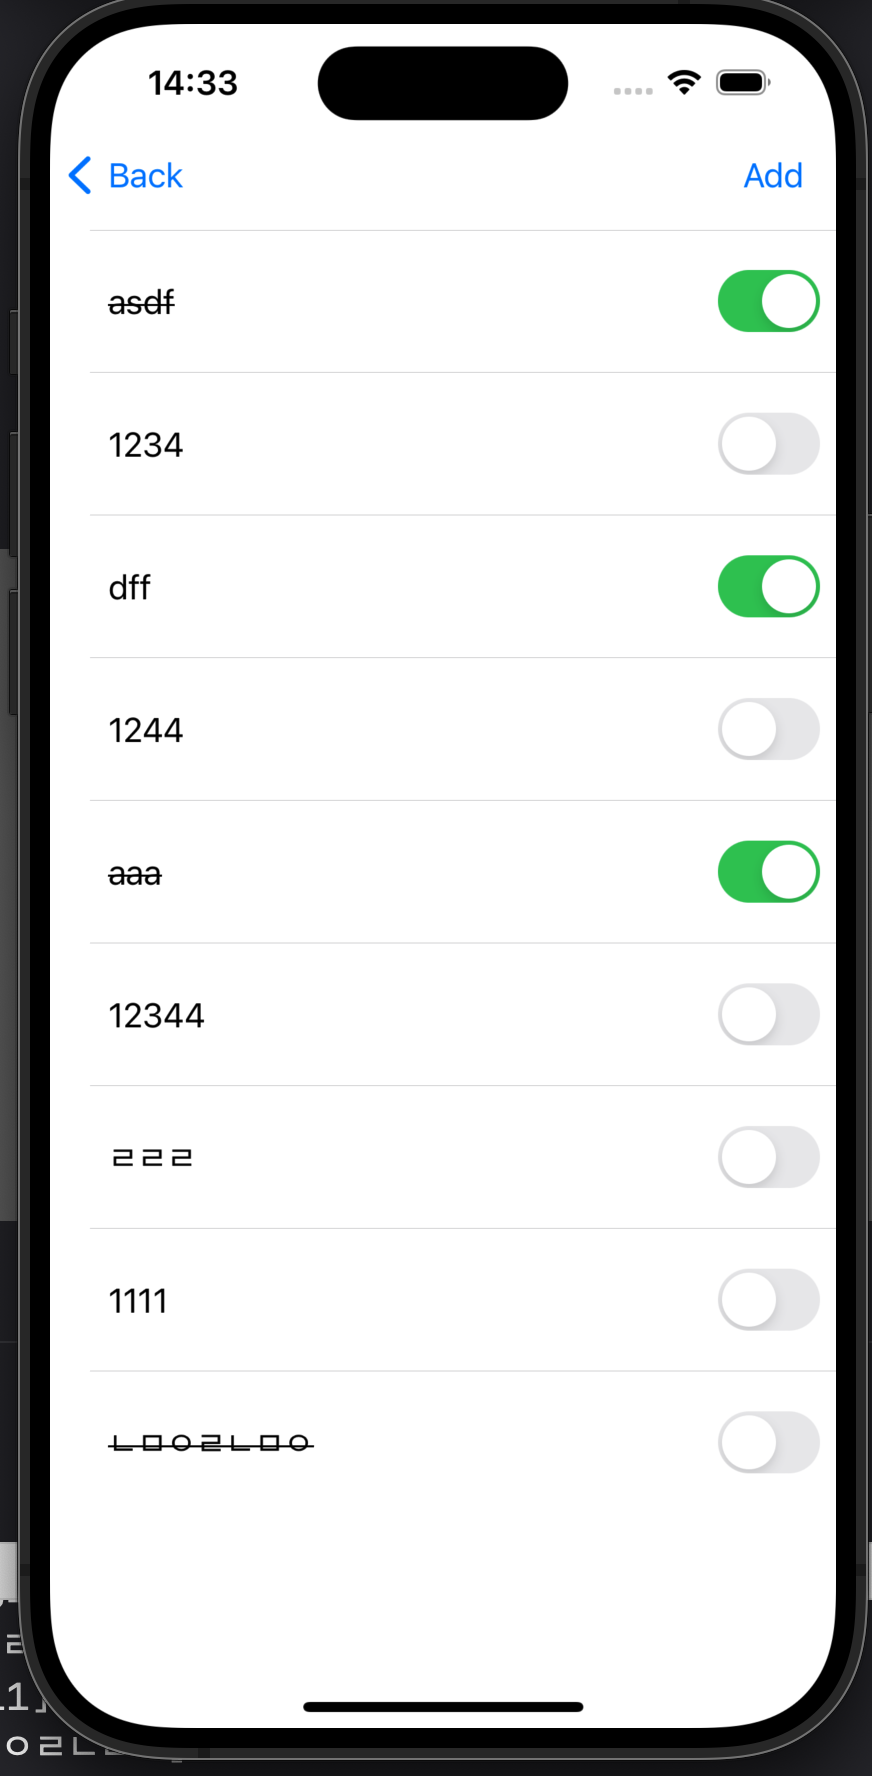
문제 해결
튜터님께 질문을 해봤는데
1
2
3
4
override func prepareForReuse() {
        super.prepareForReuse()
        finSwitch.setOn(false, animated: false) // 이전엔 true
    }
버튼이 제각각 놀았떤건 animated가 true로 되어있어서 생긴 문제였다.
해당 부분은 false를 해주니 잘된다.
이젠 취소선이 따로 노는것인데 그부분은 tableview에 cellForRowat 부분에 on / off 에대한 초기정보를 담지 않아서 생긴 문제인것 같다고 하셨다.
이부분을 좀 보완해야겠다.
1
2
3
4
5
6
7
8
9
10
11
12
13
14
15
16
17
18
func tableView(_ tableView: UITableView, cellForRowAt indexPath: IndexPath) -> UITableViewCell {
        let cell = tableView.dequeueReusableCell(withIdentifier: Constants.cellIdentifier, for: indexPath) as! ToDoListCell
        let cellTitle = lists[indexPath.row].title

        cell.toDoLabel.text = cellTitle
        cell.finSwitch.isOn = lists[indexPath.row].isComplete
        cell.finSwitch.tag = indexPath.row
        cell.finSwitch.addTarget(self, action: #selector(changeMode), for: .valueChanged)

        if cell.finSwitch.isOn == true { //new
            cell.toDoLabel.attributedText = cell.toDoLabel.text?.strikeThrough()
        } else {
            cell.toDoLabel.attributedText = cell.toDoLabel.text?.removeStrike()
        }

        return cell
}
우선 cell에 attributedText에 관한 정보를 주었다.
하지만 한두번 되다가 다시 적용이 안되었는데, 아래 참고자료를 보다가 깨달음을 얻었다.
1
2
3
4
5
override func prepareForReuse() {
        super.prepareForReuse()
        finSwitch.setOn(false, animated: false)
        toDoLabel.attributedText = nil //new
    }
이부분을 nil로 함으로써 초기화가 제대로 되었다.
TableView 너무 쉽게 생각했다.
주말에 Cell의 생명주기에 대해 좀 파고 들어봐야 할 것 같다.
DB로 하면 될줄 알았는데, 알고보니 일종의 cache 문제였다.
그래도 이후에 할거 미리 구현해뒀고, 배운것을 기반으로 내 나름대로 Docs를 보면서 이것저것 건드려보고 했으니 만족.
이로써 Lv2 클리어.
참고 자료
https://velog.io/@loinsir/iOS-Cell%EC%9D%98-%EC%83%9D%EB%AA%85%EC%A3%BC%EA%B8%B0