3주차 과제 (5)
Lv4
1. Edit 기능 구현
1
2
3
4
5
6
7
8
9
10
11
12
13
14
15
16
17
18
19
20
21
22
23
24
25
26
27
28
29
30
31
32
33
34
35
36
37
38
39
40
41
42
43
44
45
46
47
48
49
50
51
52
53
func tableView(_ tableView: UITableView, leadingSwipeActionsConfigurationForRowAt indexPath: IndexPath) -> UISwipeActionsConfiguration? {

        let deleteBtn = UIContextualAction(style: .normal, title: "Delete") { (UIContextualAction, UIView, success: @escaping (Bool) -> Void) in

            let alert = self.alertManager.makingAlert(title: "삭제하기", message: "정말 삭제하실 건가요?")

            let ok = UIAlertAction(title: "OK", style: .destructive, handler: { _ in

                self.dbManager.deleteCell(number: self.lists[indexPath.row].id)
                tableView.beginUpdates()
                self.lists.remove(at: indexPath.row)
                tableView.deleteRows(at: [indexPath], with: .fade)
                tableView.endUpdates()

            })

            let cancel = self.alertManager.makingCancel(title: "Cancel")

            alert.addAction(ok)
            alert.addAction(cancel)
            self.present(alert,animated: false)

            success(true)

        }

        let editBtn = UIContextualAction(style: .normal, title: "Edit") { (UIContextualAction, UIView, success: @escaping (Bool) -> Void) in

            let alert = UIAlertController(title: "수정하기", message: "수정할 내용을 간단하게 입력해주세요.", preferredStyle: .alert)

            let ok = UIAlertAction(title: "OK", style: .default, handler: { _ in

                self.dbManager.editTitle(number: self.lists[indexPath.row].id, title: alert.textFields?[0].text ?? "Sample")

            })

            let cancel = self.alertManager.makingCancel(title: "Cancel")
            alert.addTextField { (textField: UITextField!) in
                textField.placeholder = "수정할 내용을 입력하세요."
                textField.autocorrectionType = .no
                textField.spellCheckingType = .no
            }
            alert.addAction(ok)
            alert.addAction(cancel)
            self.present(alert,animated: false)

        }

        deleteBtn.backgroundColor = UIColor.systemRed
        editBtn.backgroundColor = UIColor.systemGreen

        return UISwipeActionsConfiguration(actions: [deleteBtn,editBtn])
    }
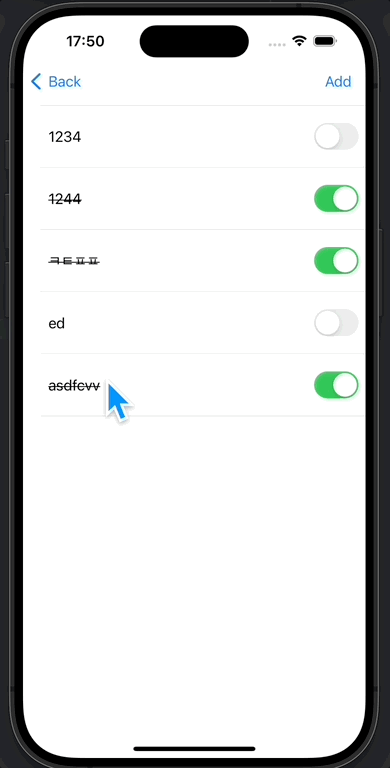
edit만 더 추가해주었다.
크게 어려운점은 없었다.
하면서 Firebase 점점 익숙해져간다.
그리고 삭제할때도 alert를 줘서 함부로 삭제하지 않게 한번 더 물어보는 식으로 했다.
이부분은 딱히 설명할 내용이 없다.
작동화면
2. Fav 기능 구현
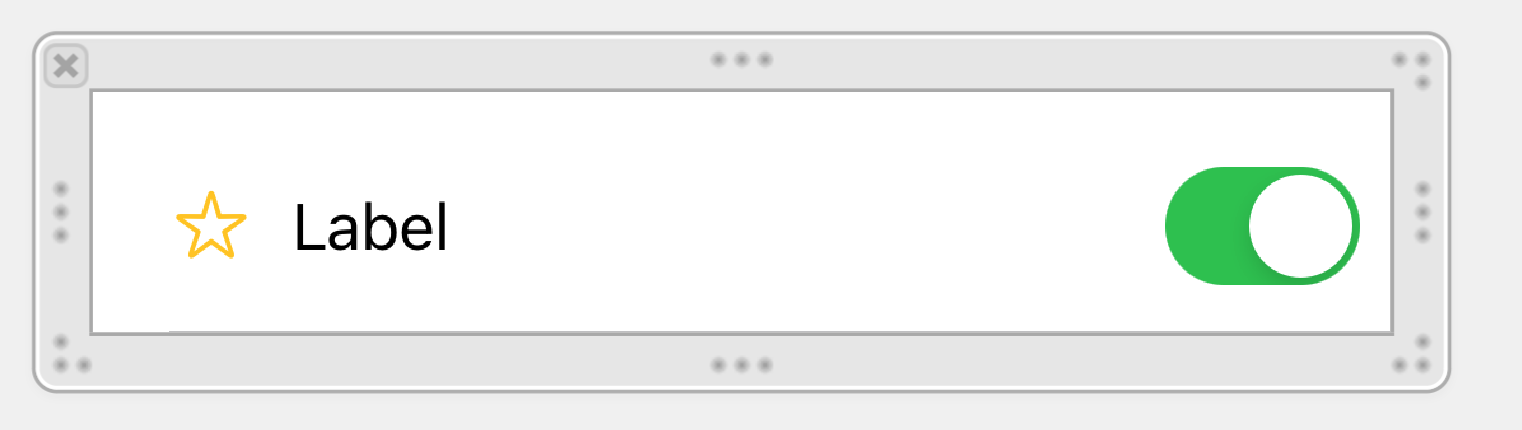
디자인은 앞에 별을 주었다.
그런데 autolayout이 꼬여서 수정, 확인을 반복하면서 30분 넘게 걸린듯하다.
작업 하기전 사전 준비를 해준다
1
2
3
4
5
6
7
8
9
10
11
12
13
14
15
override func awakeFromNib() {
        super.awakeFromNib()
        finSwitch.setOn(false, animated: true)
        favView.image = UIImage(systemName: "star") //new
        selectionStyle = .none

    }

    override func prepareForReuse() {
        super.prepareForReuse()
        finSwitch.setOn(false, animated: false)
        toDoLabel.attributedText = nil
        favView.image = UIImage(systemName: "star") //new

    }
초기화를 해주었다.
그리고 함수도 만들어 주었다.
특별히 버튼은 이미지로 해주었다.
1
2
3
4
5
6
7
8
9
10
11
12
13
14
15
16
17
func tableView(_ tableView: UITableView, trailingSwipeActionsConfigurationForRowAt indexPath: IndexPath) -> UISwipeActionsConfiguration? {

        let favBtn = UIContextualAction(style: .normal, title: "") { (UIContextualAction, UIView, success: @escaping (Bool) -> Void) in
            if self.lists[indexPath.row].isFav == false {
                self.dbManager.editFav(number: self.lists[indexPath.row].id, isFav : true)
            } else {
                self.dbManager.editFav(number: self.lists[indexPath.row].id, isFav : false)
            }
            tableView.beginUpdates()
            tableView.endUpdates()
            success(true)
        }

        favBtn.backgroundColor = .init(patternImage: #imageLiteral(resourceName: "Image"))

        return UISwipeActionsConfiguration(actions: [favBtn])
    }
그리고 tableview 함수부도 약간의 내용을 추가해주었다.
1
2
3
4
5
6
7
let favBool = lists[indexPath.row].isFav

 if favBool == true {
    cell.favView.image = UIImage(systemName: "star.fill")
    } else {
    cell.favView.image = UIImage(systemName: "star")
}
작동을 해보면?
잘되는데
버튼이 왜 저모양일까…
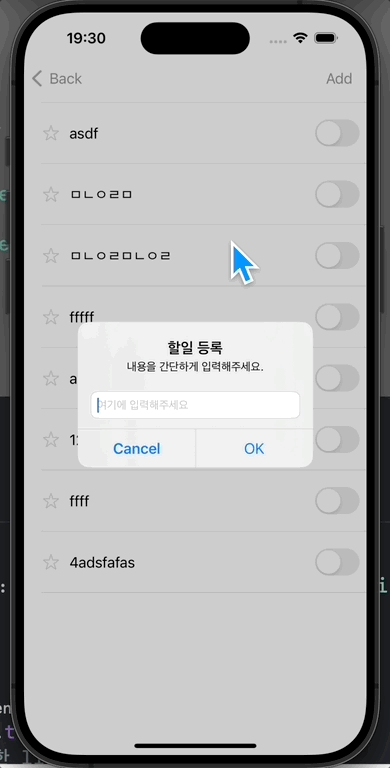
기능은 되니까 나중에 하는걸로..
나머지 기능은 주말에 해봐야겠다.
오늘은 여기까지.
이 기사는 저작권자의 CC BY 4.0 라이센스를 따릅니다.