MapKit (14)
LocationListViewModel 만들기
이전글에서 작성한 코드와 관련된 작업을 하기위해 ViewModel을 만들어 준다.
그리고 새로 Re-Group을 해주는데
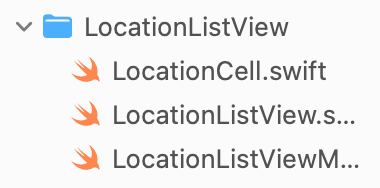
LocationListView, LocationCell, LocationListVM 이렇게 세개를 LocationListView라는 폴더를 만들고 넣어준다.
그리고 아래와 같이 코드를 작성해준다.
1
2
3
4
5
6
7
8
9
10
11
12
13
14
15
16
17
18
19
20
21
import CloudKit

final class LocationListViewModel: ObservableObject {

    @Published var checkedInProfiles: [CKRecord.ID: [DDGProfile]] = [:]

    func getCheckedInProfilesDictionary() {
        CloudKitManager.shared.getCheckedInProfilesDictionary { result in
            DispatchQueue.main.async {
                switch result {
                    case .success(let checkedInProfiles):
                        self.checkedInProfiles = checkedInProfiles
                        print(checkedInProfiles)
                    case .failure(_):
                        print("Error getting back dictionary")
                }
            }
        }
    }

}
사실 이전에도 계속 해왔던것이다 보니 크게 언급할만한 내용은 없어 보인다.
VM 적용하기
오래간만에 LocationCell로 가서 var profiles: [DDGProfile]을 추가한다.
새로운 변수가 생겼으므로 발생하는 에러쪽에 profiles 부분을 추가해주면 되는데, 이때
1
2
3
4
5
ForEach(locationManager.locations) { location in
    NavigationLink(destination: LocationDetailView(viewModel: LocationDetailViewModel(location: location))) {
        LocationCell(location: location, profiles: viewModel.checkedInProfiles[location.id, default: []])
    }
}
ListView쪽은 이렇게 딕셔너리를 넣어준다.
이제 관련된 에러를 해결했다면, Cell에 적용을 제대로 해보려고한다.
현재 Cell에 Hstack을 보게되면, 기능 테스트를 하기위해 Dummy Data로 해두었던걸 알 수 있다.
1
2
3
4
// 너무길어서 Dummy 하나만 가져옴
HStack {
    AvatarView(image: PlaceholderImage.avatar, size: 35)
}
이젠 Dummy가 아닌 Dictionary에서 가져온 데이터를 여기에 보여주려고 한다.
1
2
3
4
5
6
7
8
9
10
11
12
if profiles.isEmpty {
    Text("Nobody's Checked In")
        .fontWeight(.semibold)
        .foregroundColor(.secondary)
        .padding(.top, 2)
} else {
    HStack {
            ForEach(profiles) { profile in
                AvatarView(image: profile.createAvatarImage(), size: 35)
            }
    }
}
if를 통해 체크인을 아무도 안했을때, 한명이라도 체크인을 했을 경우로 나누면 된다.
실행전에 깜박 했는데 LocationListView에
1
2
3
.onAppear {
    viewModel.getCheckedInProfilesDictionary()
}
이걸 반드시 넣어줘야한다. (그리고 기존에 작성해 두었던 CloudKitManager.shared.getCheckedInProfilesDictionary 부분은 지워주자.)
이제 실행을 해보면
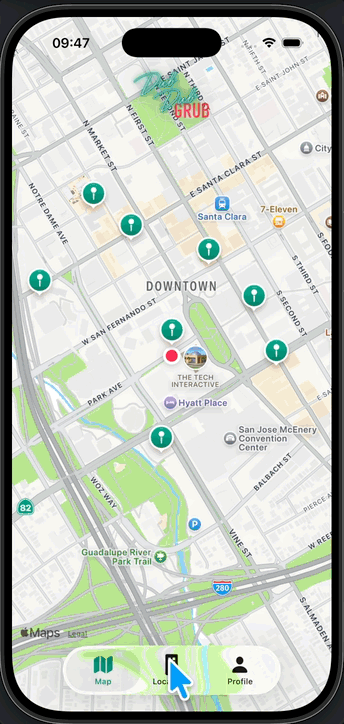
잘되는걸 알 수 있다.
체크인 한 유져가 많을 경우 카운트로 대체하기

이런식으로 체크인 한 유져가 많을 경우를 대비해 좀 더 UX를 보강하려고 한다.
새로운 View 만들기
먼저 위의 사진 처럼 카운트를 담을 View를 만들어본다.
1
2
3
4
5
6
7
8
9
10
11
12
13
struct AdditionalProfilesView: View {

    var number: Int

    var body: some View {
        Text("+\(number)")
            .font(.system(size: 14, weight: .semibold))
            .frame(width: 35, height: 35)
            .foregroundColor(.white)
            .background(Color.brandPrimary)
            .clipShape(Circle())
    }
}

그러면 이렇게 View가 만들어 진다.
새롭게 만든 View 적용하기
1
2
3
4
5
6
7
8
9
HStack {
    ForEach(profiles.indices, id: \.self) { index in
        if index <= 3 {
            AvatarView(image: profiles[index].createAvatarImage(), size: 35)
        } else if index == 4 {
            AdditionalProfilesView(number: profiles.count - 4)
        }
    }
}
기존 Hstack을 위와 같이 바꿔 준다.
Profile Avatar를 4개까지만 보여주겠다는 것 (이후부턴 +1, +2 이런식으로 증가)
테스트
일부러 별도의 헤더를 만들어서 테스트라고 적은건
우리가 MockData를 지금까지 Xcode에서 만들었다면, 이번엔 Cloud내에서 MockData를 인위적으로 만들어서 테스트를 해볼것이기 때문이다.
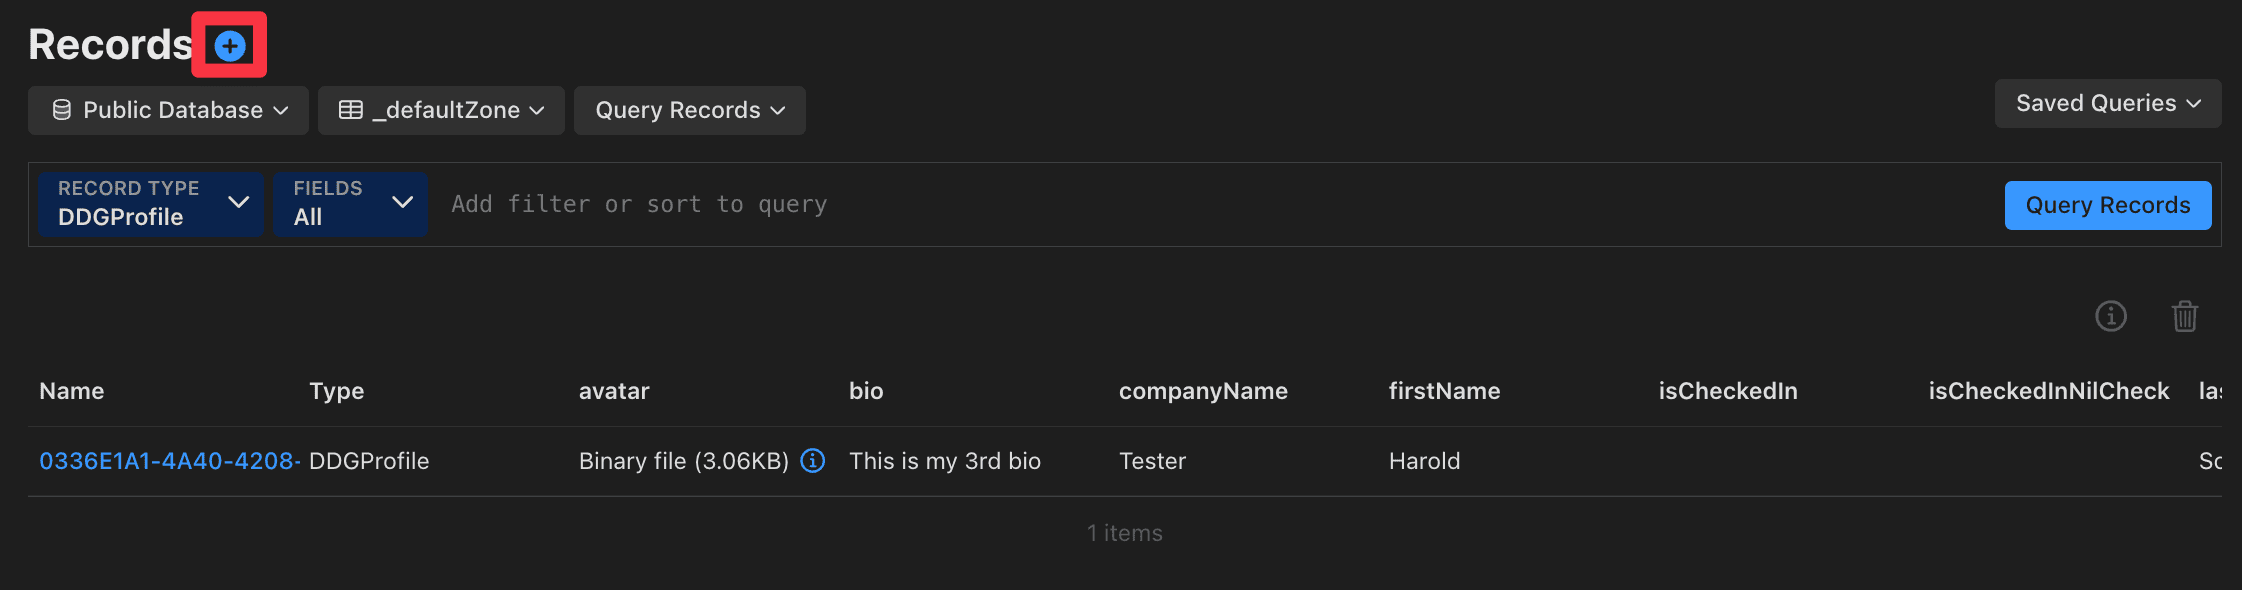
클라우드를 들어가서 Records를 보게되면 현재는 1개밖에 없다. 당연하다 테스트를 하면서 시뮬레이터에서 내가 직접등록한 harold 밖에 없기때문.
박스로 표시 해둔 +를 눌러서 MockData를 추가해보도록 한다.
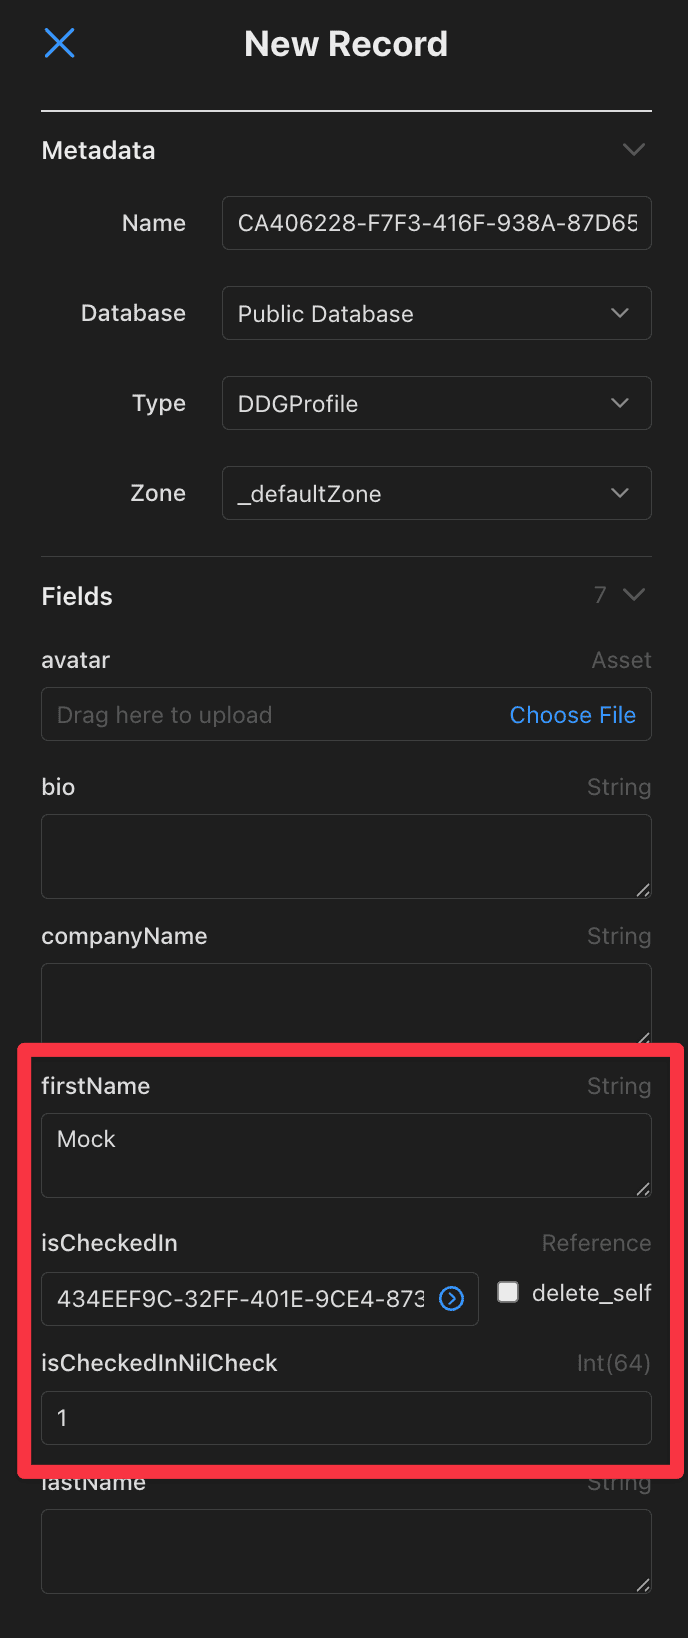
여기만 추가해주도록 한다.
넉넉하게 한 6개? 정도 추가를 해보려고한다.
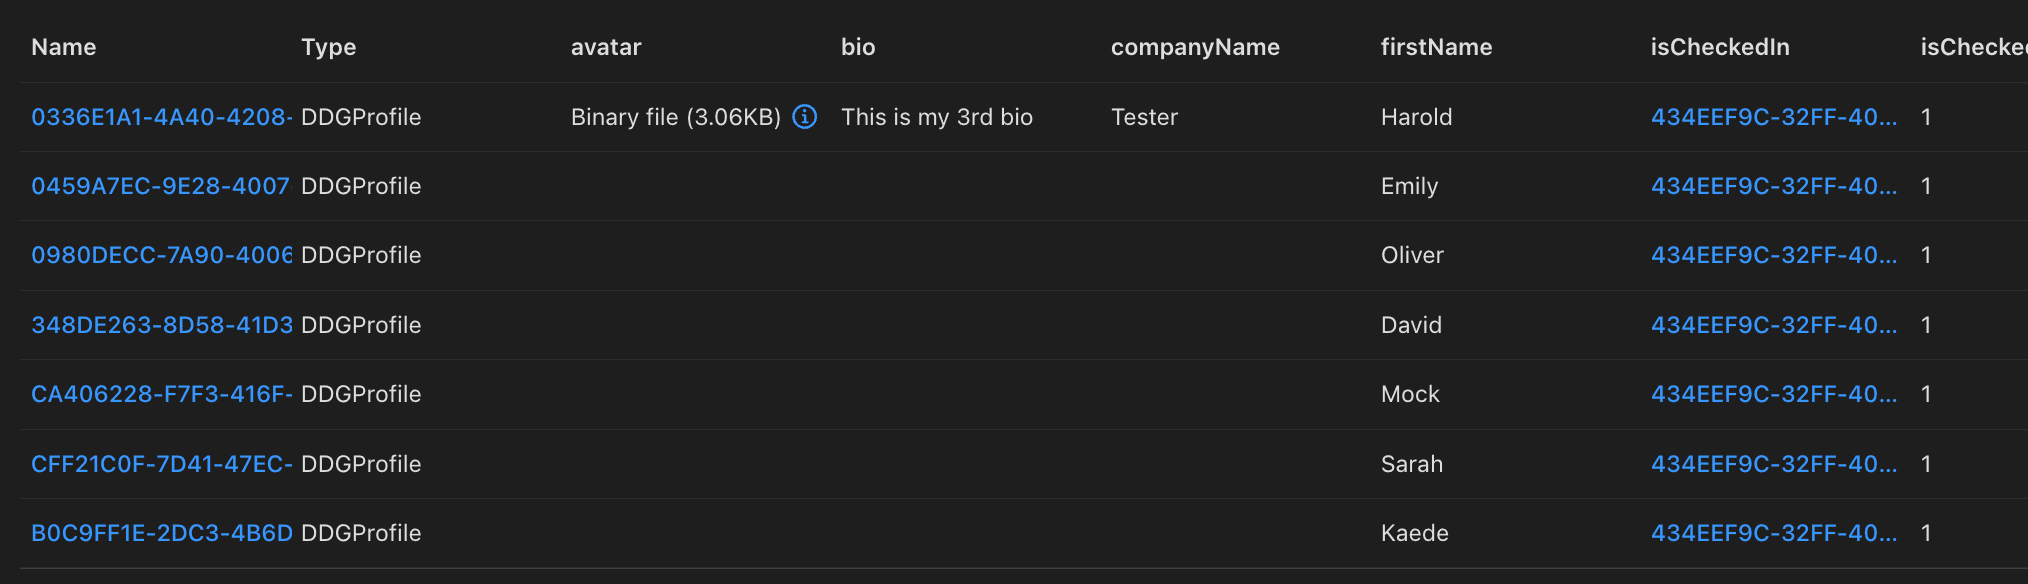
이렇게 6개의 MockData를 추가해 주었다.
실행해보면
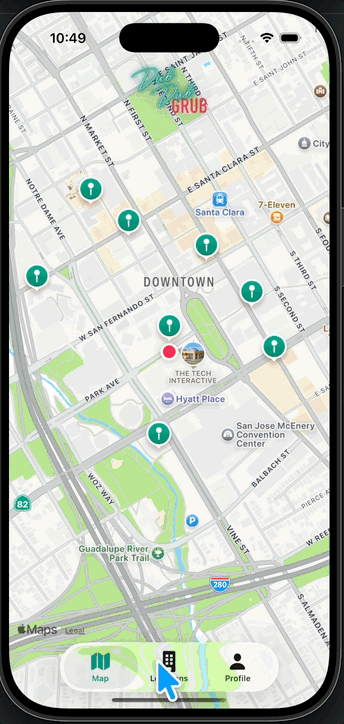
아주 잘되는걸 알 수 있다.
실제로 나의 테스트 계정인 Harold가 빠졌을때 카운트도 적용이 잘 되는걸 확인 할 수 있다.
Github: Dub-Dub-Grub Repository